Removing watermarks from images and videos has never been easier. With the Watermark Remover, you can effortlessly erase unwanted marks, logos, objects, people, backgrounds, dates or text using advanced AI technology or manual tools, ensuring your media looks pristine.
Haven't yet installed Watermark Remover on your computer? Click the button below to download the software and get started now.
Part 1: How to Remove Watermark from Image
Step 1: Launch Watermark Remover
Launch Watermark Remover. Click on the "Remove Image Watermark" button and upload the image you want to edit.

Step 2: Import Image
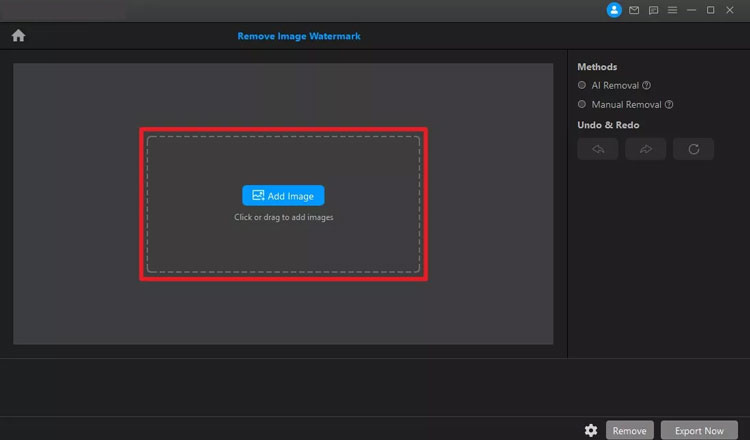
Click on "Add Image" to import images into Watermark Remover, or drag the images directly into the interface.
Step 3: Choose Removal Method
Method 1: AI Removal
Select the AI Removal Method from the right panel. Click the "Remove" button to see a preview of the result.
Method 2: Manual Removal
For manual removal, select the "Manual Removal" option. Use the Selection Tool to outline the watermark area.
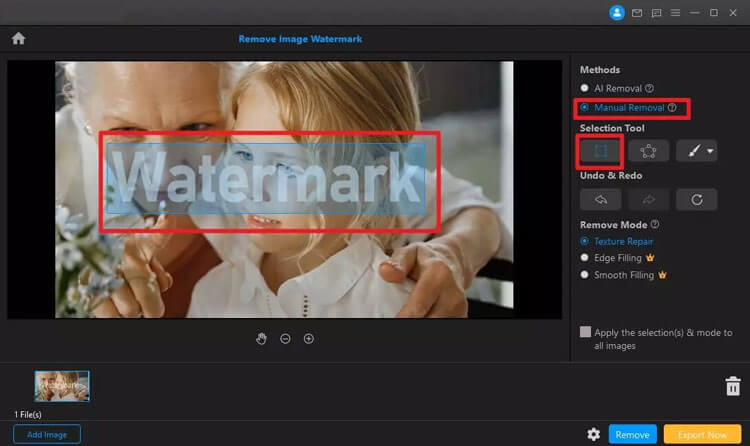
You can also utilize the Lasso Tool and Brush for more precision.

Choose an appropriate removal mode such as Texture Repair, Edge Filling, or Smooth Filling to ensure the area blends seamlessly with the original image. After making your selection, click the "Remove" button. You can add more selection boxes or undo/redo actions as needed.

If you need to remove watermarks from multiple images in the same location, simply click the "Apply to All" button.
Step 4: Export Image
Once you are happy with the adjustments, click the "Export" button to save your images after watermark removal.

Part 2: How to Remove Watermark from Video
Step 1: Launch Watermark Remover
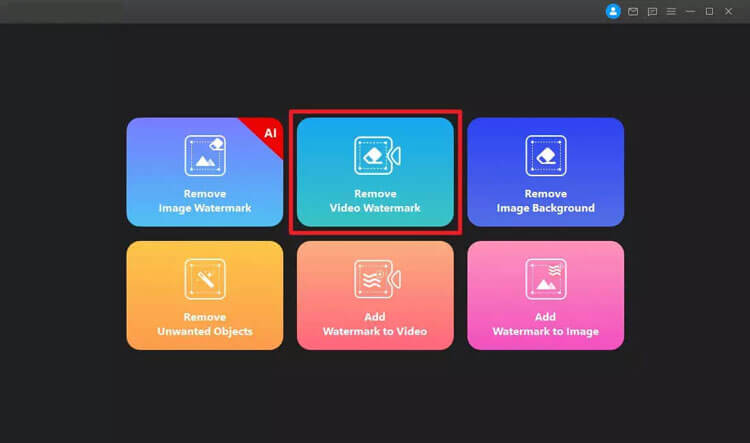
Start by launching Watermark Remover. Click on the "Remove Video Watermark" button and upload the video from which you wish to remove the watermark.
Step 2: Import Video
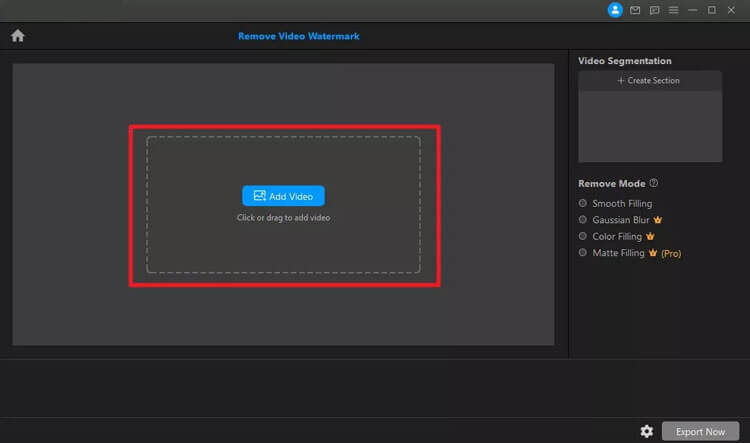
To import your video, click on "Add Video" in the center of the window or simply drag the video file into the software interface.
Step 3: Choose Removal Mode
Once the video is imported, a selection tool will appear. Adjust the box to encompass the watermark. Available removal modes include Smooth Filling, Color Filling, Gaussian Blur, and the advanced Matte Filling. These options ensure that the area where the watermark was is restored seamlessly in color and texture.

Step 4: Preview the Result
After removing the watermark, click the Play button to preview the modified video.

Step 5: Export Video
When you are satisfied with the results, click the "Export" button to save your video without the watermark.
Part 3: How to Remove Unwanted Objects from Images
Step 1: Launch Watermark Remover
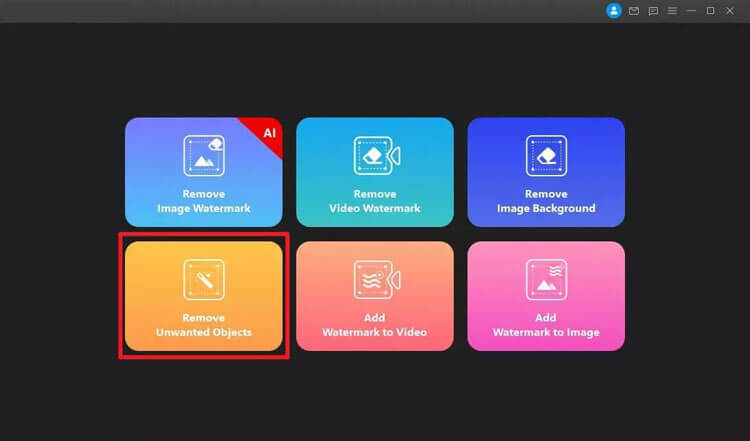
Open Watermark Remover and click on the "Remove Unwanted Objects" button to upload your media file.
Step 2: Import Image
Import images by clicking "Add Image" or by dragging them into the software interface.

Step 3: Select Objects to Remove
Once the image is loaded, use the Selection Tool on the right panel to paint over the unwanted objects.

Step 4: Click on Remove Now
After marking the unwanted objects, click the "Remove Now" button to erase them. You can repeat this process as needed and also undo or redo actions.

Step 5: Export Image
When satisfied with the changes, click "Export" to save the edited images.
Part 4: How to Remove Image Background
Step 1: Launch Watermark Remover
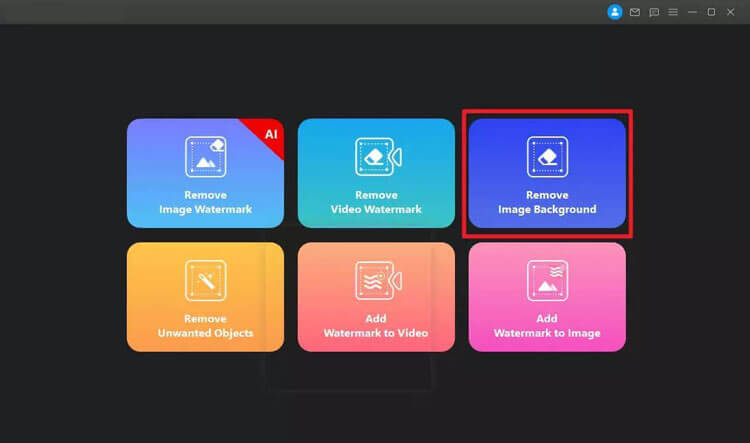
Open Watermark Remover, then click on the "Remove Image Background" button.
Step 2: Import Image
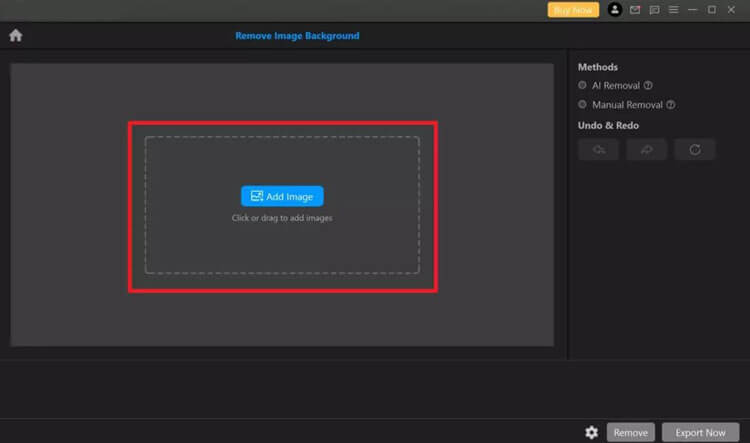
Import your image by clicking "Add Image" or dragging it into the interface.
Step 3: Choose Removal Method
Method 1: AI Removal
Select the AI Removal Method from the right panel.

Click the "Remove" button to preview the outcome.

Method 2: Manual Removal
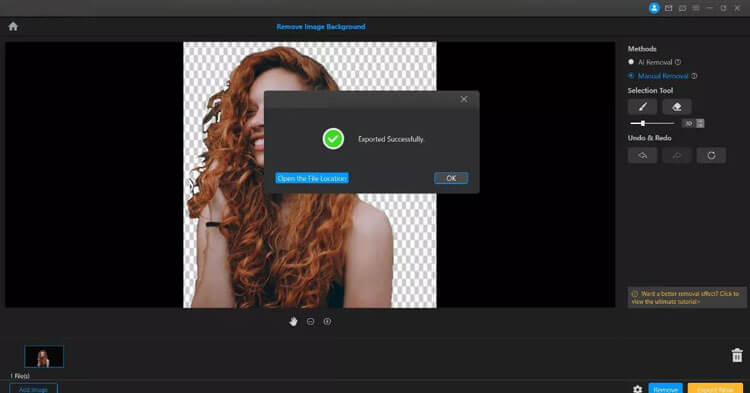
For manual removal, choose the "Manual Removal" option and use the brush tool to cover the background you wish to eliminate.

Step 4: Export Image
Once you are satisfied with your adjustments, click the "Export" button to save the images after the background removal.
Part 5: How to Add Watermark to Image
Step 1: Launch Watermark Remover
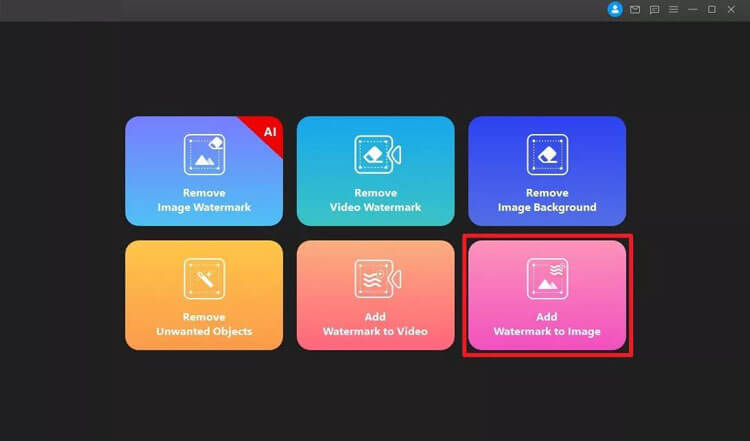
Start Watermark Remover and click on the "Add Watermark to Image" button, then upload the image you wish to watermark.
Step 2: Import Watermark
Select either the "Add Text" or "Add Image" tool to place your watermark on the image. You can easily adjust the size and position.
Add Text Watermark:

Add Image Watermark:

Step 3: Preview Result
Click the "Preview" button to review your image and make any necessary adjustments.

Step 4: Export Image
Finally, click the "Export Now" button to save your watermarked image.
Part 6: How to Add Watermark to Video
Step 1: Launch Watermark Remover
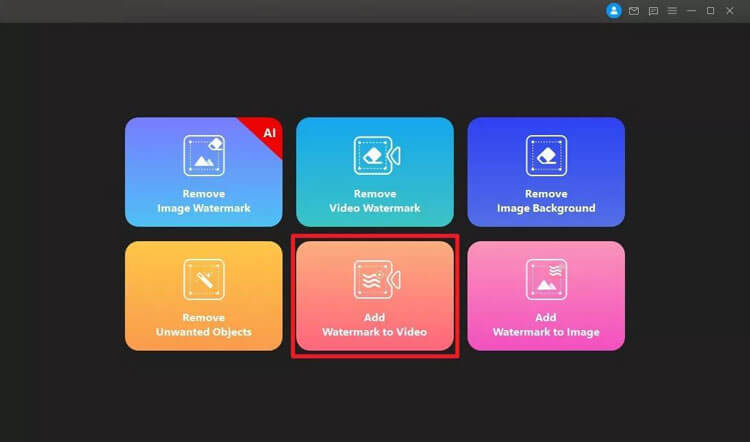
Open Watermark Remover and click on the "Add Watermark to Video" button.
Step 2: Import Video
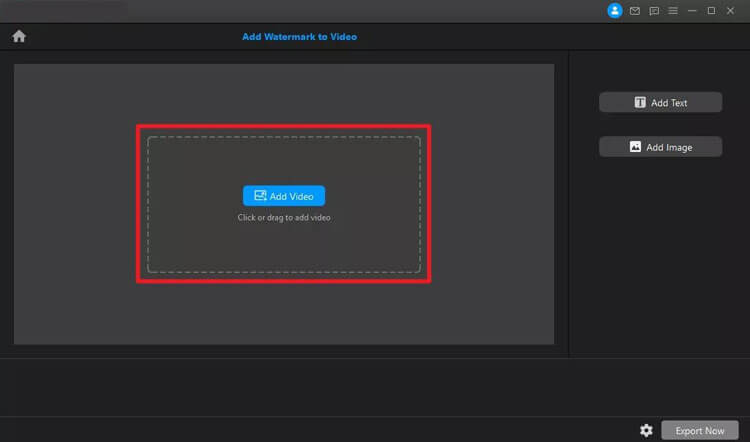
Click "Add Video" to import the video where you want to add the watermark.
Step 3: Import Watermark
Add Text Watermark
You can add a text watermark by clicking the "Add Text" button. A text box will appear; double-click to edit the text.

Add Image Watermark
To add an image watermark, click the "Add Image" button and select the watermark image from your computer. Adjust its size and position as needed.

Step 4: Export Video
Once you are satisfied with your adjustments, click the "Export" button to save your video with the new watermark.

Conclusion
To sum up, Watermark Remover offers a powerful solution for watermark removal, making it simple to edit out unwanted marks from your images and videos. Experience the freedom of clean visuals with this intuitive software.


