Background Noise Removal tool is designed to enhance your audio and video quality by effectively eliminating unwanted background noise. This guide will walk you through the process of using this powerful feature.
You can follow these simple steps below to remove background noise from audio and video now.
Part 1: Getting Started
To get started, download and install the Background Noise Removal tool on your computer first. You can click the button below to download it on your Windows PC.
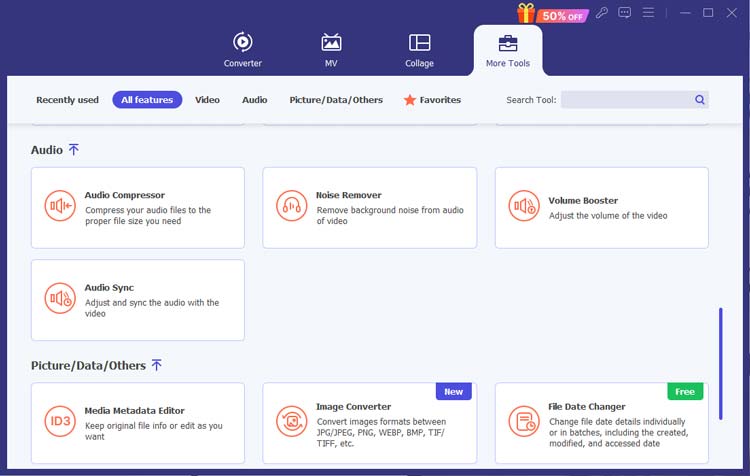
To access Background Noise Removal, just open the software and navigate to the "More Tools" tab. Find "Noise Remover", where you can remove background sound from audio recordings and videos.
Part 2: How to Remove Background Noise from Video
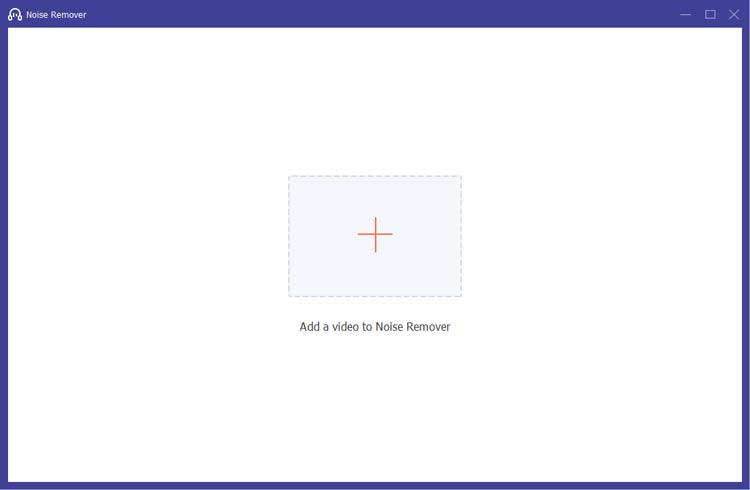
Step 1: Add Your Video
Upload a video that you want to remove background noise.
Step 2: Address Excess Noise
Simply select the audio track and check the box labeled "Enable audio noise reduction". This can effectively reduce unwanted noise and enhances audio quality.
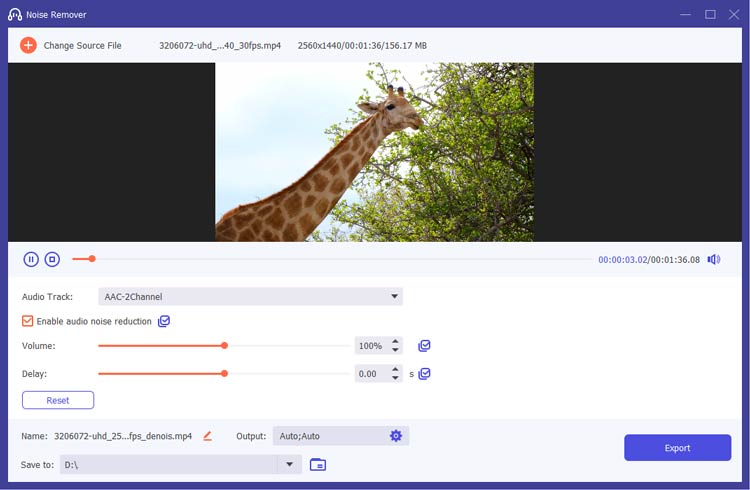
Step 3: Apply Settings and Export
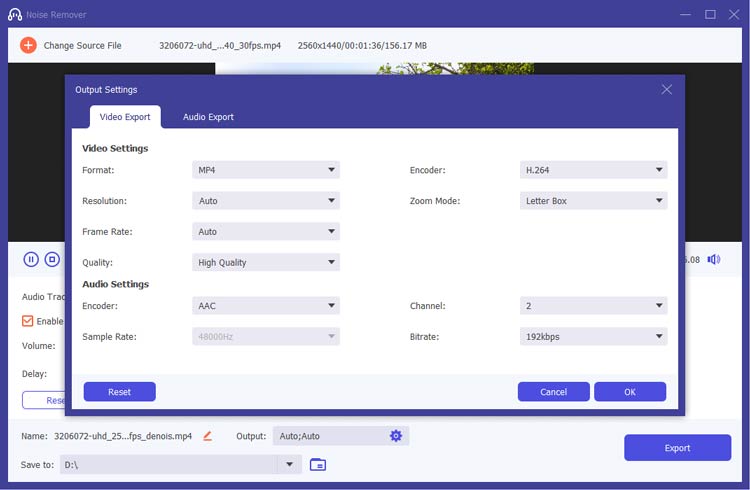
If you wish to apply the same settings to all audio tracks, you can do so by clicking the checkbox. Finally, click the "Export" button to generate the edited video.
Part 3: How to Remove Background Noise from Audio
Step 1: Add Your Audio
Upload your audio file to this audio bg noise removal tool.

Step 2: Choose Audio Track
If the audio noise in your video is too distracting, you can select the audio track and check the box labeled "Enable audio noise reduction" to reduce unwanted noise and enhances audio quality.
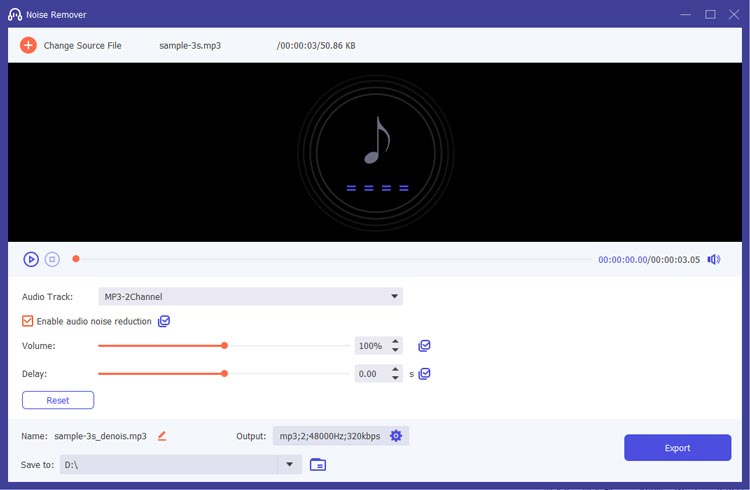
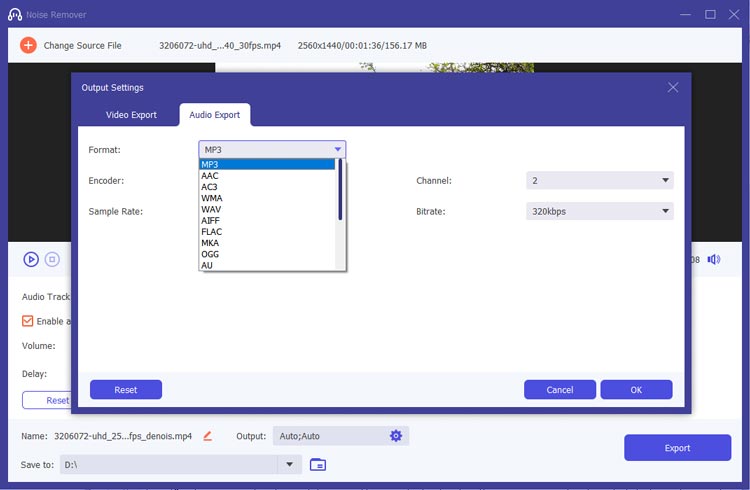
Step 3: Set Output Preferences and Export
Customize your audio export settings by adjusting the Output format, and more. Then click the "Export" button to generate the edited audio file.
Conclusion
The Background Noise Removal tool is an essential feature for anyone looking to enhance their audio quality. With its advanced AI background noise removal capabilities, you can ensure your recordings are clear and professional. Enjoy the high-quality audio of your videos or recordings now.


