


Mac Screen Recorder is a top-tier software designed for professional screen recording. It enables users to capture high-quality videos and audio effortlessly. This guide provides detailed steps to utilize its features for screen recording, webcam capture, and audio recording. (For Windows users, please go to Screen Recorder >>)
Begin by downloading and installing Mac Screen Recorder on your MacBook Pro, Air, mini, or iMac. Once installed, open the application to access its features.
Part 1: How to Record Your Screen on Mac
Step 1: Start Screen Recording
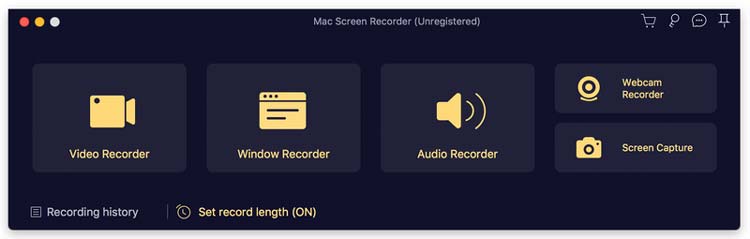
Click on the Video Recorder option to initiate screen recording.
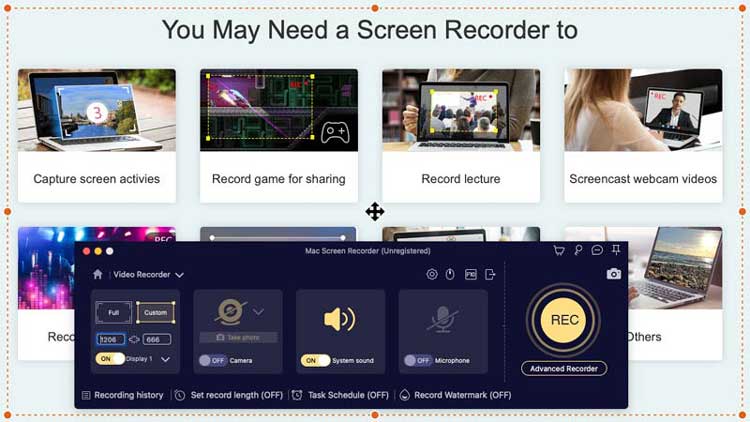
You can customize the recording area by selecting the Custom button. Choose to record the full screen, a fixed region, or a specific custom area according to your needs.
Step 2: Configure Audio Settings
To include audio in your recording, click on the microphone icon to adjust settings for the built-in microphone or input. You can choose to record system sounds, microphone audio, or both for a comprehensive experience.
Step 3: Begin Recording
Press the REC button to start your screen recording. After completing the recording, you can preview your project to ensure quality.
Part 2: How to Record Audio/Music on Mac
Step 1: Open Audio Recording Feature
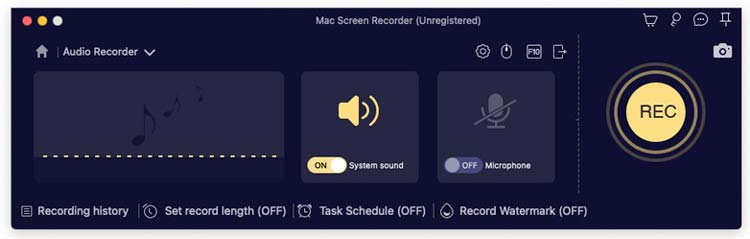
Launch Mac Screen Recorder and select the Audio Recorder option to start capturing audio. This is perfect for recording music, voiceovers, or any other audio content.
Step 2: Adjust Audio Settings
Choose whether to record system audio, microphone input, or both. This flexibility allows for a tailored audio recording experience.
Step 3: Start Audio Recording
Click the REC button to begin recording audio on your Mac. Once finished, you can save your audio file for future use.
Part 3: How to Record Webcam on Mac
Step 1: Access Webcam Recording Feature
With Mac Screen Recorder installed, select the Webcam Recorder option to start capturing video from your webcam. You may also enable your microphone for audio input.
Step 2: Start Webcam Recording
Click the REC button to begin recording your webcam video. You can also take snapshots during the recording session for quick captures.
Part 4: How to Take Screenshots on Mac
Step 1: Access Screen Capture Feature
Open Mac Screen Recorder and select the Screen Capture option. This feature allows you to capture images from your screen easily.
Step 2: Select Capture Area
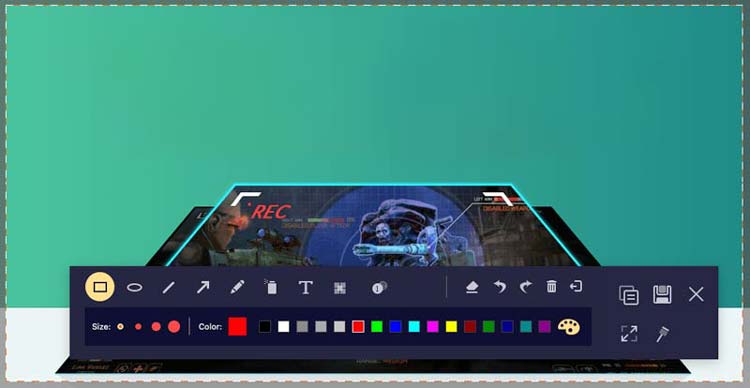
Choose the area you want to capture—full screen, a fixed region, or a custom area based on your requirements.
Step 3: Edit and Save Your Screenshot
Utilize the editing tools provided to enhance your screenshot. Once satisfied, click Save to store the image on your Mac.
Conclusion
Mac Screen Recorder is an essential tool for anyone looking to create high-quality screen recordings, whether for tutorials, gameplay, or audio content. With its user-friendly interface and powerful features, capturing your screen has never been easier.
