Welcome to the Object Remover guide. With advanced AI technology, this video object remover software shared by iReaShare simplifies the process of removing unwanted objects and people from your videos. Whether you want to erase an object from a video or replace a background, this guide will help you navigate the features of Object Remover effectively.
Part 1: Getting Started
To begin, download and install Object Remover on your computer. The installation process is straightforward, allowing you to quickly access the powerful features designed for video editing.
Part 2: How to Remove Objects from Videos
Object Remover utilizes AI to automatically track and identify object movements, making it easy to remove any unwanted elements from your videos. Unlike traditional video editing tools, which can be complex, Object Remover streamlines the process into simple steps.
Step 1: Import Your Video
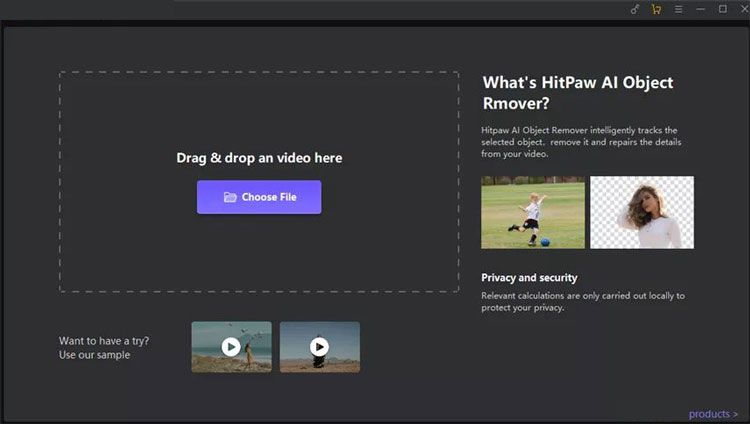
Start by clicking "Choose File" to upload the video from which you wish to remove objects. Alternatively, you can drag and drop the video directly into the editing box.
Step 2: Select "AI Remove Objects" Function
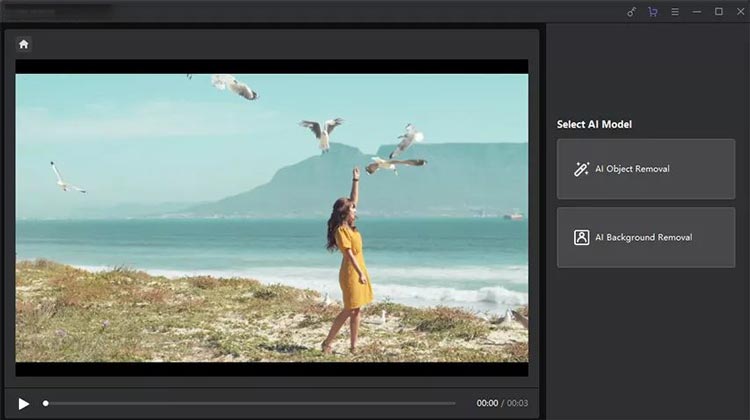
Choose the "AI Remove Objects" function to initiate the object removal process.
Step 3: Frame the Object
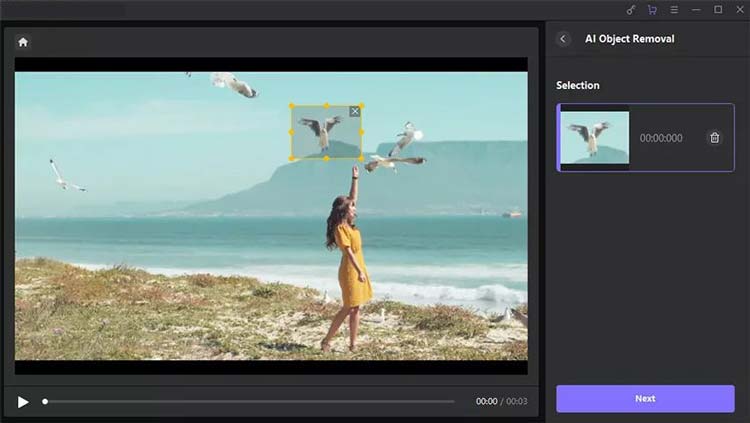
Frame the area containing the object or person you want to remove from the video. After making your selection, click "Next". You can adjust the playback progress using the circular mark on the video timeline.
Step 4: Adjust Your Selection
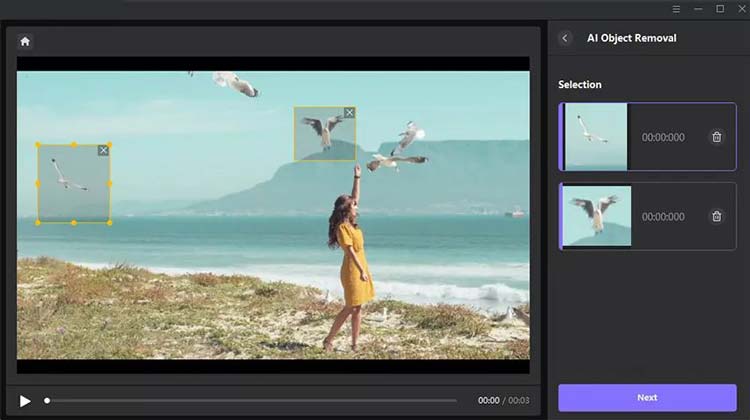
The selected area will be highlighted for your review. You can modify the selection by adding or reducing the area as necessary. If you're not satisfied with your selection, click "Reselect" to start over.

The contents within your selection will be displayed on the right side of the interface. To remove this selection, click the "X" button in the upper right corner of the frame. Adjust the Brush Size for more precise control by dragging the size bar as needed.
Step 5: Preview and Export Your Video
Click "preview clip" to see the effect of the object removal, then export the final video to save it on your computer.
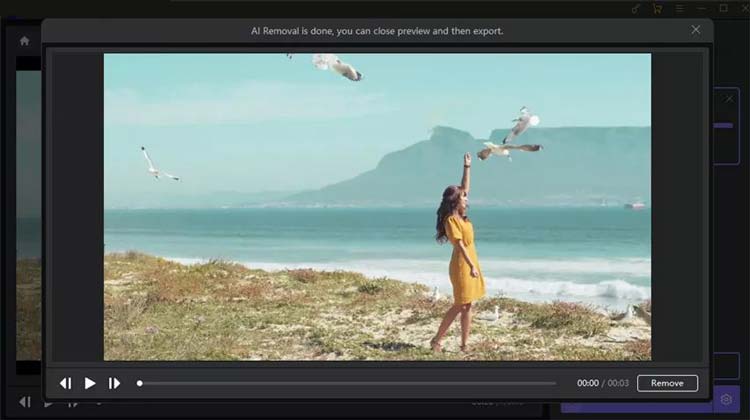
Part 3: How to Remove Background from Videos
Removing backgrounds from videos has never been easier. Object Remover allows you to eliminate distracting backgrounds without requiring advanced skills.
Step 1: Import Your Video
Click "Choose File" to upload the video from which you want to remove the background. You can also drag and drop the video into the editing area.

Step 2: Choose the Background Fill Mode
Select the desired Background Fill mode in Object Remover.
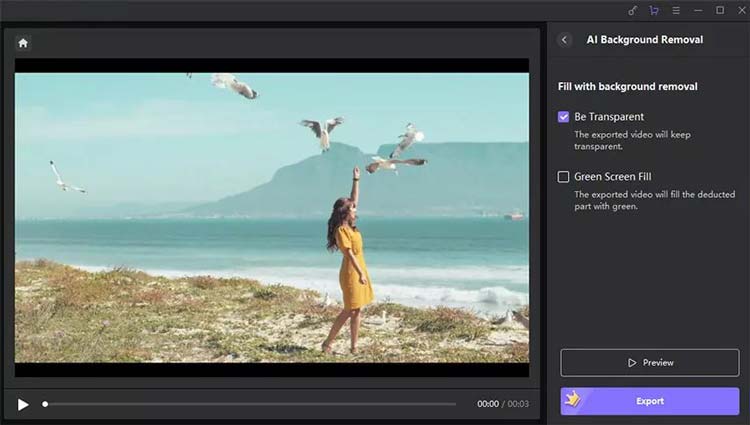
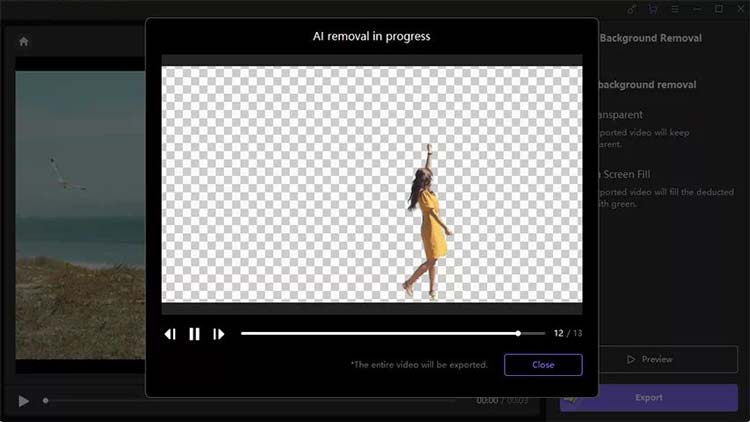
(1) Be Transparent: This option makes the background of your video transparent.
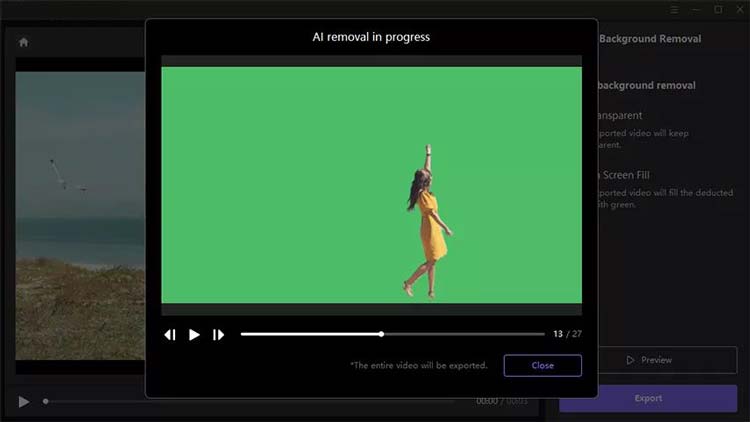
(2) Green Screen Fill: This fills the exported video with a green background where the original was removed.
Step 3: Preview and Export Your Video
After adjusting your settings, preview the removal effect and export the video to your computer for use.
Part 4: How to Replace Video Background
Replacing a video background is simple with Object Remover. You can swap out the background for solid colors or upload images of your choice.
Step 1: Import Your Video
Begin by clicking "Choose File" to add the video whose background you wish to replace. Dragging and dropping the video into the box is also an option.

Step 2: Select the Background Fill Mode
Choose the Background Fill mode to select a solid color or upload your desired image to replace the existing background.
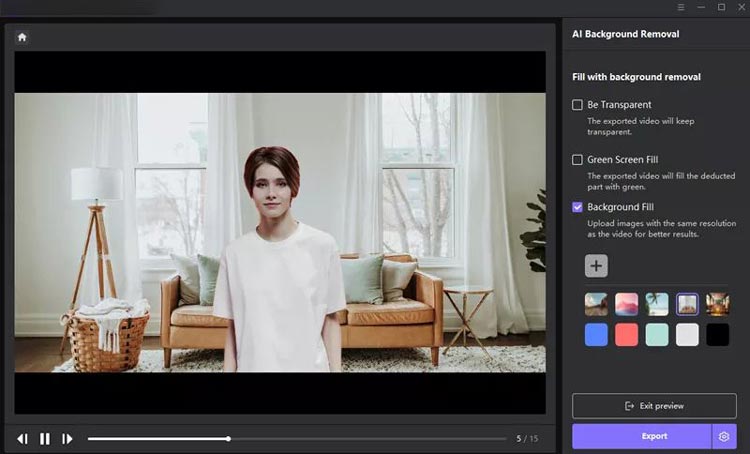
(1) Replace the existing video background with a solid color:
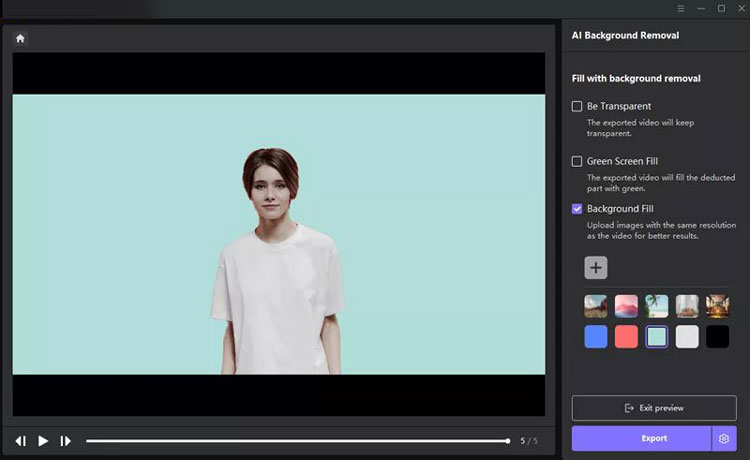
(2) Replace the existing video background with a uploaded image:
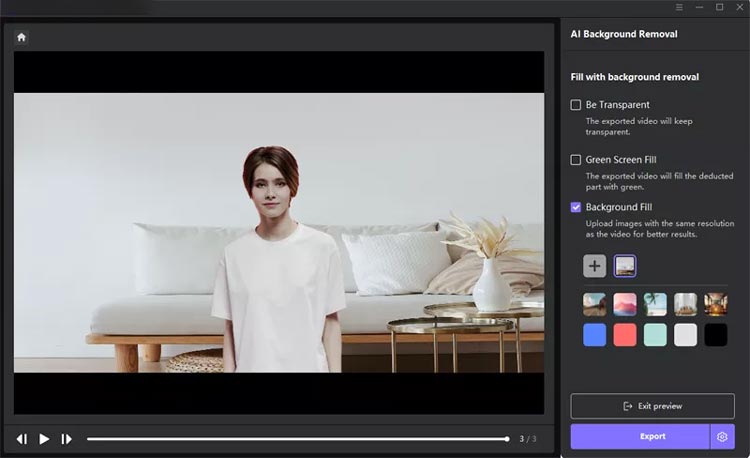
Step 3: Preview and Save the Final Video
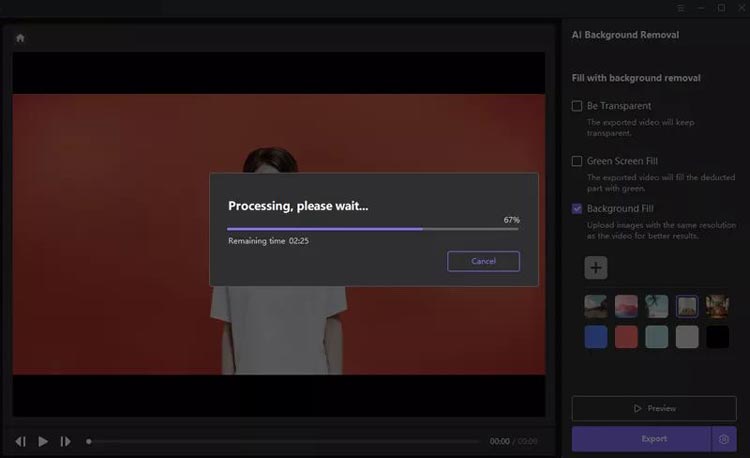
Once you've made your selection, preview the changes and export the video to finalize your edits.
Conclusion
Object Remover makes it easy to remove objects, backgrounds, and even replace them with new visuals. It is your ultimate solution for effortlessly removing unwanted elements from videos. With its intuitive interface and AI capabilities, you can achieve professional-quality edits in just a few clicks. Experience the power of AI-driven video editing tools today.


