Welcome to the AI Photo Editor, your go-to software for professional photo editing. This powerful image editing tool simplifies your photography editing tasks, enabling you to edit pictures with ease and efficiency. With its AI-driven features, you can achieve stunning results quickly and effortlessly.
Part 1: Getting Started
With the AI Photo Editor, you can process multiple images in a folder simultaneously. This batch processing feature significantly enhances your efficiency, allowing you to edit photos quickly and effectively. Try it out to see how it can streamline your workflow.
Start by downloading the AI Photo Editor for your Windows PC using the download button below.
Part 2: How to Edit Your Photos/Videos in Bulk
Step 1: Access Editing Tools in AI Photo Editor
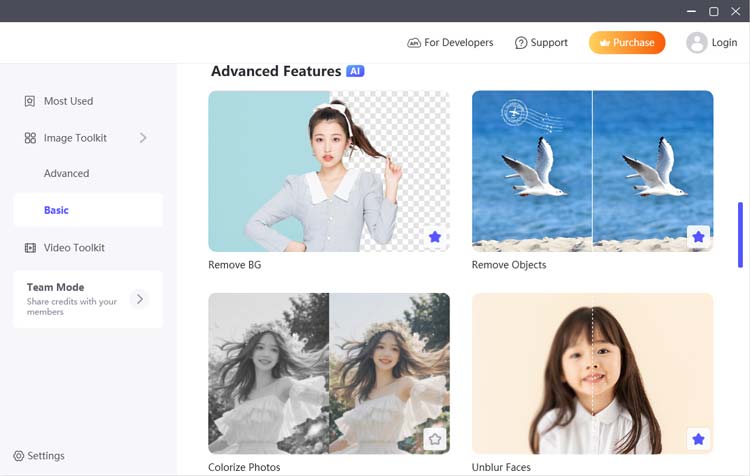
After installation, open the software and go to the "Image Toolkit" or "Video Toolkit" tab.
There, you can find and select any AI tool you need. This all-in-one image editor offers a variety of functionalities, you can customize your images with ease using our intelligent editing software.
Image Toolkit Features:
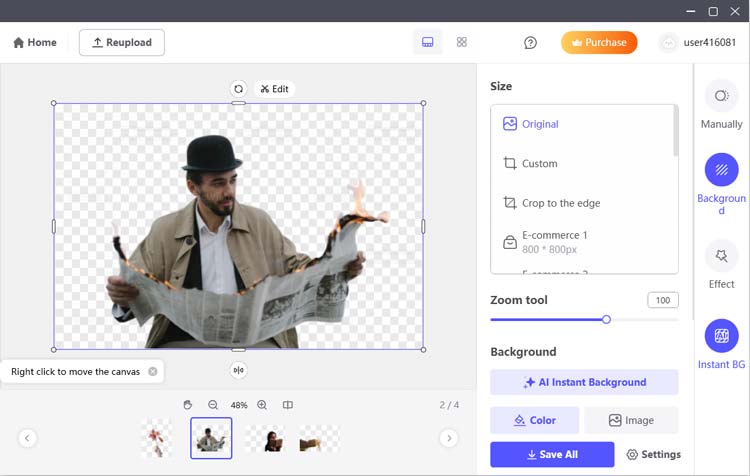
- Remove Background: Smooth edges even for complex hair.
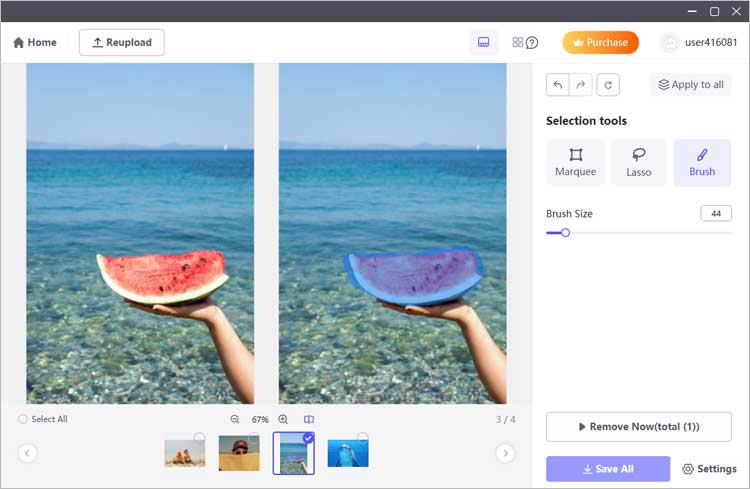
- Remove Objects: Eliminate unwanted elements from your photos.
- Colorize Photos: Transform black and white images effortlessly.
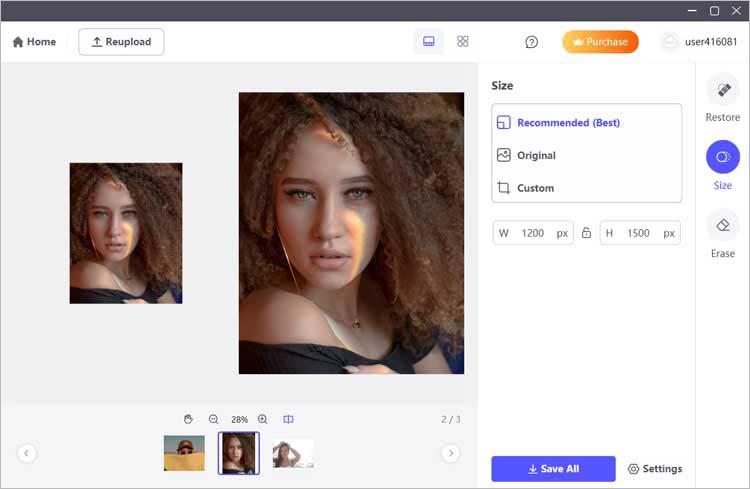
- Unblur Faces: Restore HD quality to blurry faces.
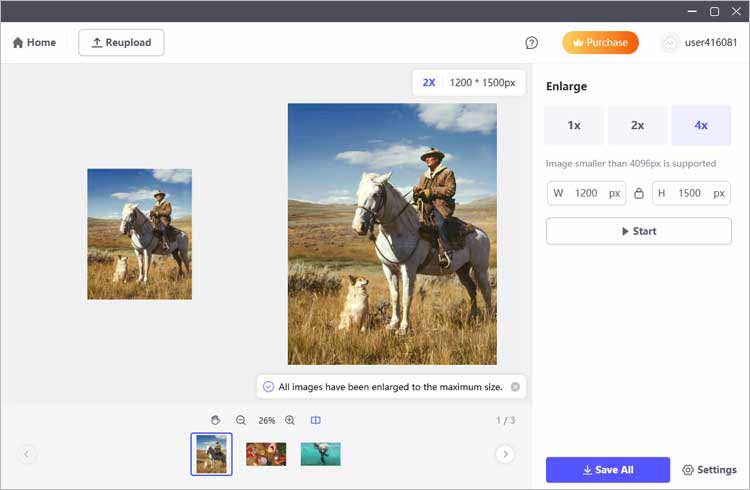
- Enlarge: Upscale the images without losing quality.
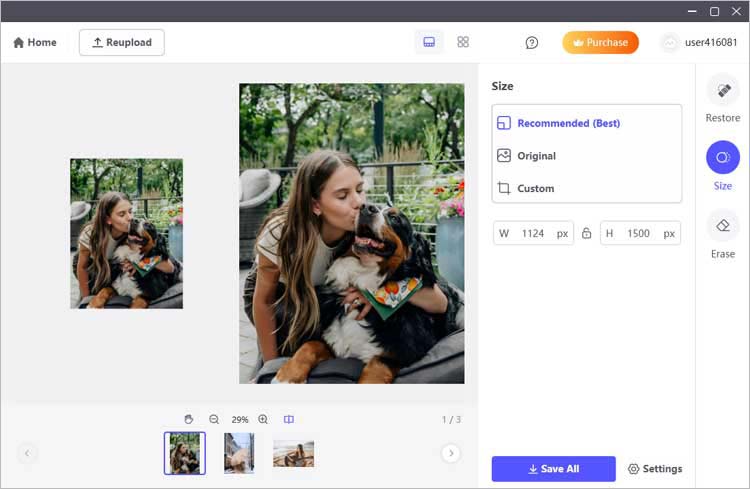
- Blur to Clear: Enhance blurry photos to improve clarity with ease.
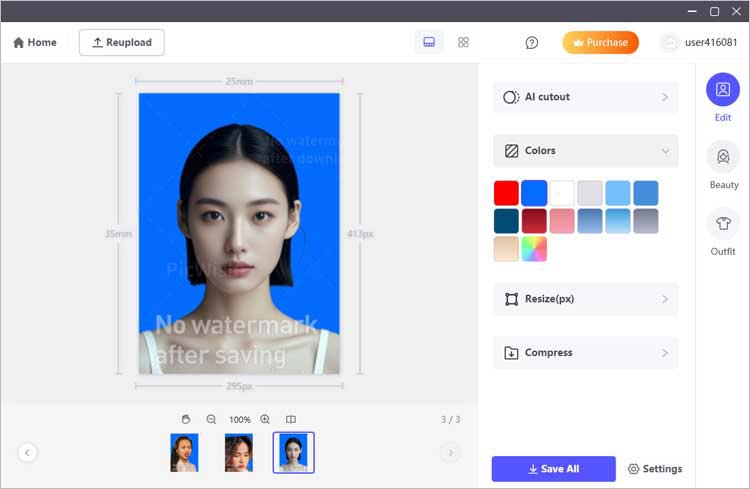
- ID Photo: Simple DIY for identification photos.
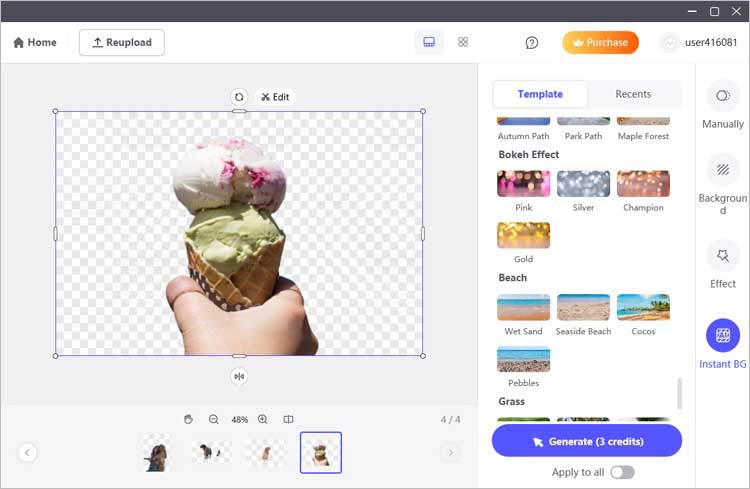
- AI Background Generator: Create realistic backgrounds for product images.
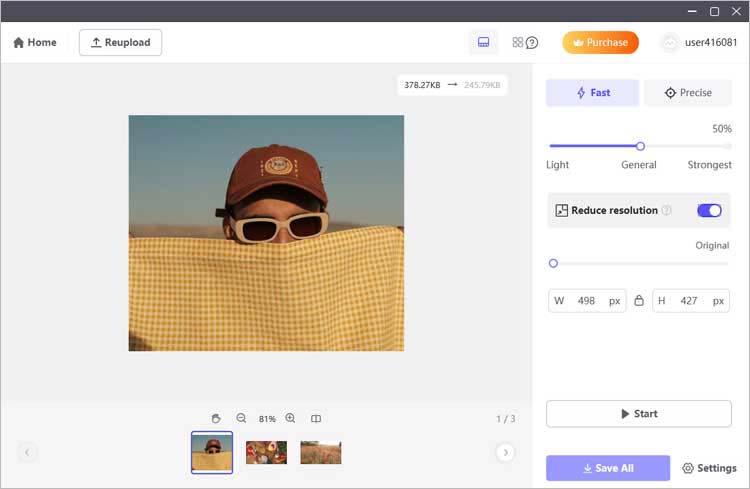
- Compress: Reduce file size while maintaining quality.
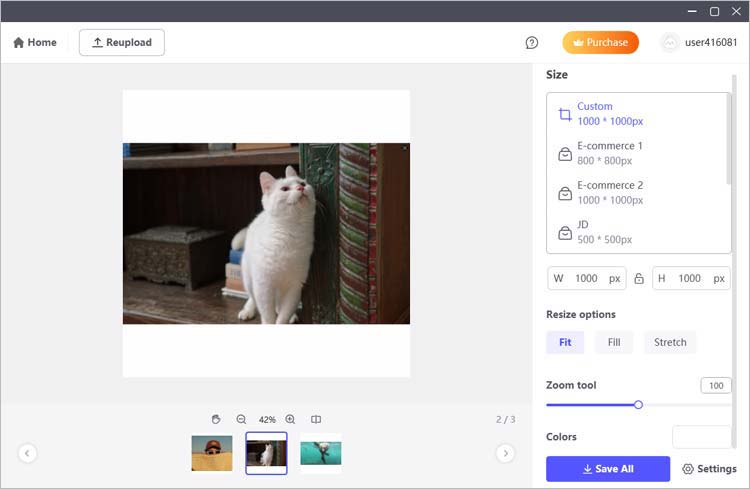
- Bulk Resize: Resize images to various default dimensions.
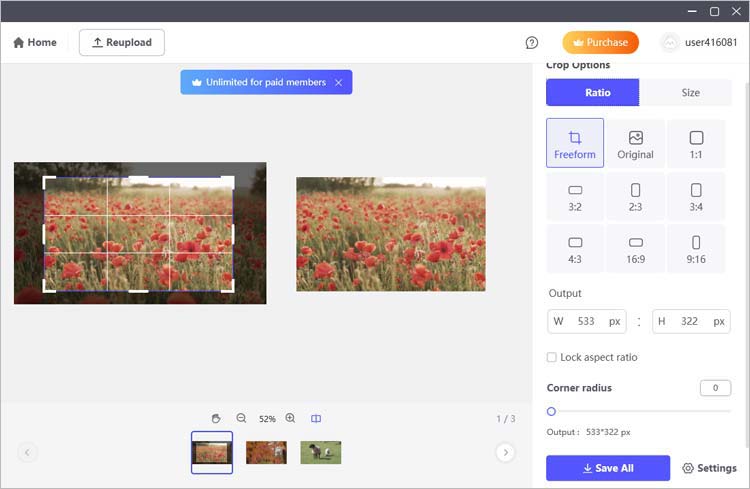
- Bulk Crop: Crop multiple images at once with a single click.
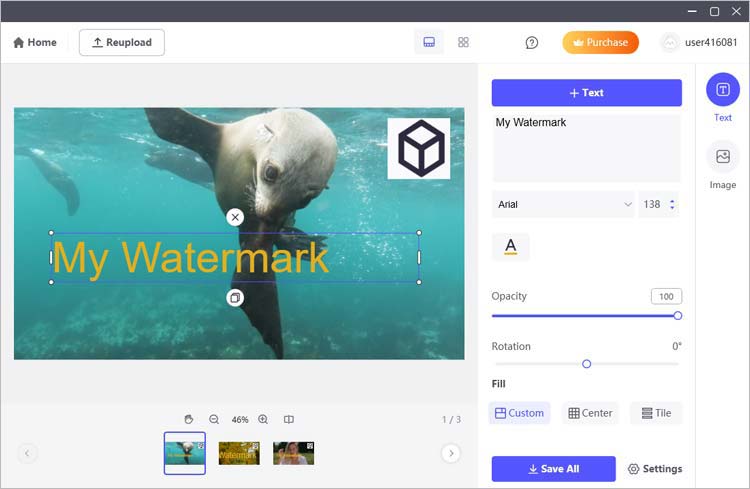
- Add Watermark: Add watermarks to protect your copyright and brand identity.
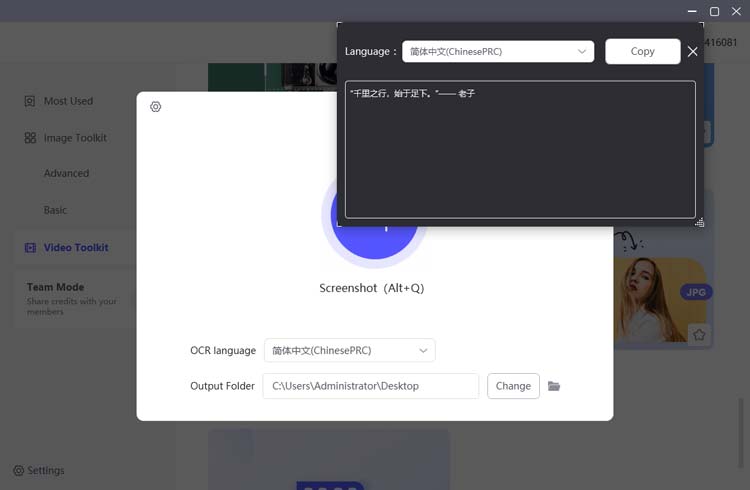
- Screenshot OCR: Extract text from screenshots.
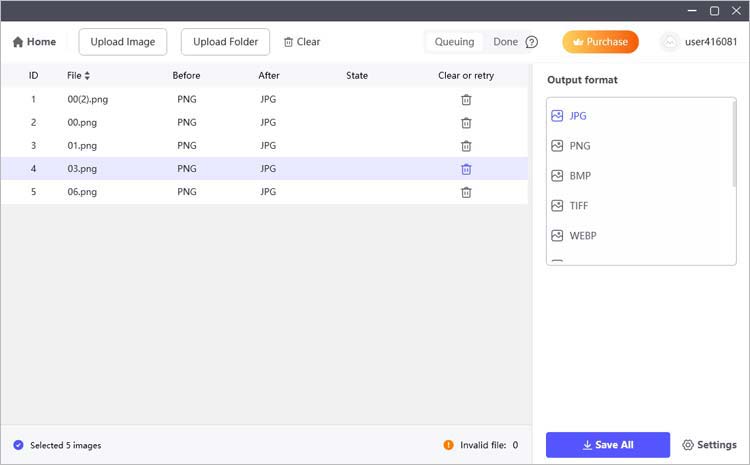
- Image Converter: Convert images into various formats.
Video Editing Toolkit:
In addition to image editing, the AI Photo Editor also includes a video toolkit that allows you to remove watermarks from videos easily, making it a versatile choice for all your editing needs.
Step 2: Add Your Files
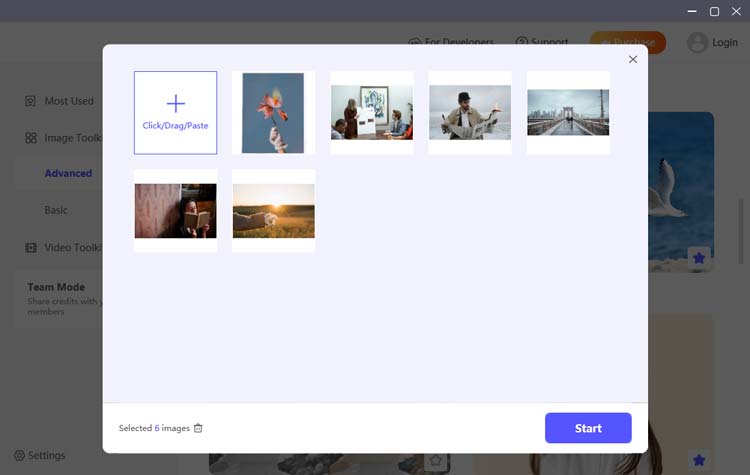
After selecting an editing Tool, click on the "Upload File" or "Upload Folder" button to import the file or folder you wish to edit, then click the "Start" button.
You can select multiple images at once for batch processing, which is especially useful for efficiency. Ensure your files are in a supported format for optimal editing results.
Step 3: Start to Edit Your Photos/Videos Freely
After uploading, explore the various editing features available in the toolkit. Whether you need to remove backgrounds, enhance colors, add watermarks, resize images or apply filters, take your time to experiment with each option. Use the preview function to see changes in real-time, allowing you to adjust settings until you achieve your desired look.
If editing videos, make sure to check for any final adjustments before proceeding.
(1) Remove BG:
(2) Remove Objects:
(3) Colorize Photos:
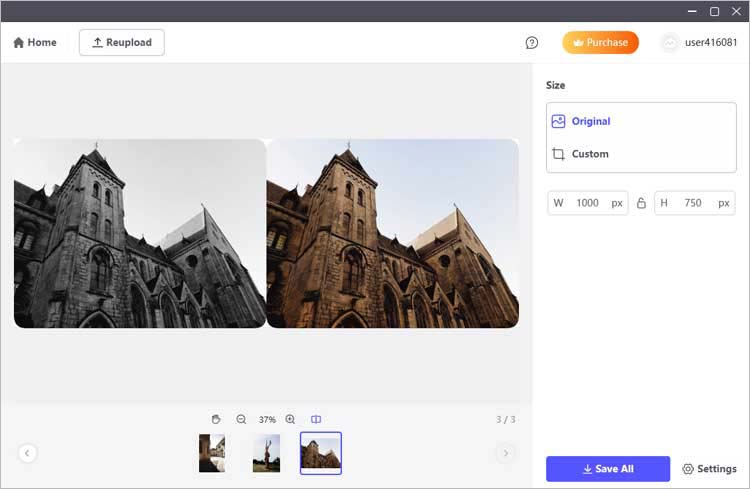
(4) Image Enlarger:
(5) Blur to Clear:
(6) ID Photo:
(7) AI Background Generator:
(8) Image Compressor:
(9) Bulk Resize:
(10) Bulk Crop:
(11) Add Watermark:
(12) Screenshot OCR:
(13) Image Converter:
(14) Unblur Faces:
(15) Remove Watermark from Video:
Step 4: Save Your Work
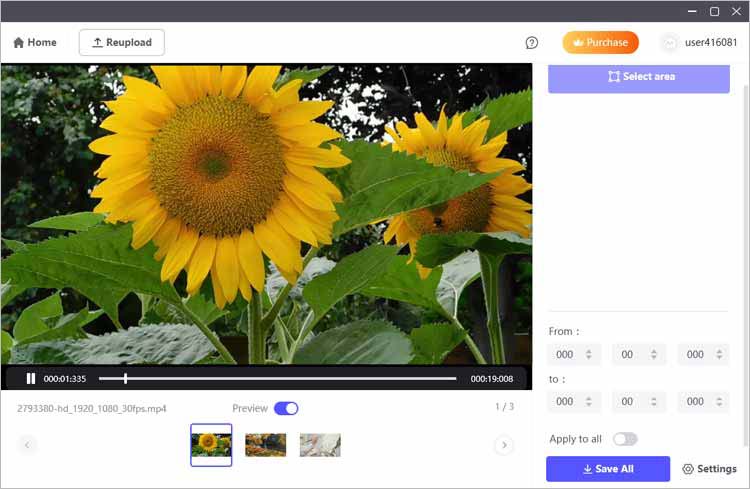
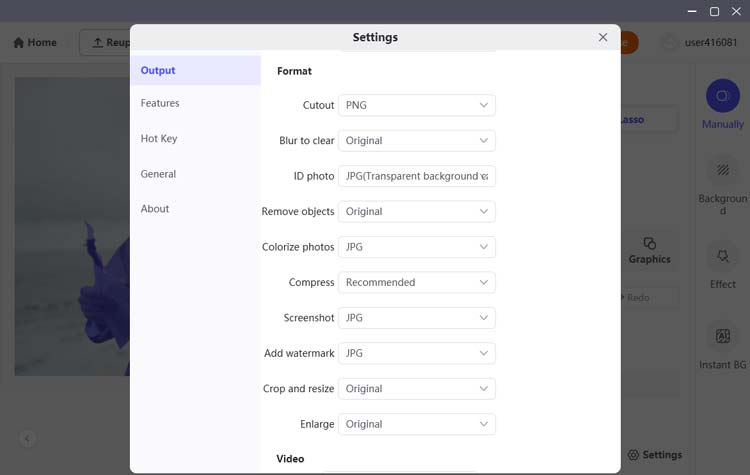
Once you are satisfied with your adjustments, review your images to ensure everything meets your expectations. Then click the "Save All" button to export your edited photos or videos. Choose your preferred file format and quality settings in the Settings dialog box. This step ensures that your edits are preserved, and you can easily access your enhanced images or videos later.
Conclusion
The AI Photo Editor is an essential tool for anyone looking to enhance their photography editing experience. With its advanced features and user-friendly interface, you can edit photos and videos like a pro. Whether you need a free photo editor or a comprehensive image editing software, the AI Photo Editor has got you covered.


