When you need to use more than one Android phone for work, or upgrade to a new Android device, you cannot give up your important data, with contacts being at the top of the list. So, do you know how to transfer contacts from Android to Android smoothly? Luckily, this guide covers 6 effective methods to transfer your contacts, ensuring you stay connected without missing a beat.
- Part 1: How to Transfer Contacts from Android to Android via iReaShare Phone Transfer
- Part 2: How to Transfer Contacts from Android to Android via Quick Share
- Part 3: How to Copy Contacts from Android to Android via Google Contacts
- Part 4: How to Transfer Contacts to New Android Phone via Google Account
- Part 5: How to Move Contacts from Android to Android via SIM Card
- Part 6: How to Send Contacts from Android to Android via Email
- Part 7: FAQs About Transferring Contacts Between Android Devices
Part 1: How to Transfer Contacts from Android to Android via iReaShare Phone Transfer
"How do I transfer contacts from Android to Android at one go? I don't want to waste time on data migration." If you want to efficiently move your contacts from one Android phone to another, you can use this one-stop transfer software - iReaShare Phone Transfer. With it, you can copy countless contacts between Android devices at once. Also, you can transfer your text messages, photos, videos, documents, apps, etc.
Main features of iReaShare Phone Transfer:
* Seamlessly transfer contacts from Android to Android.
* Enable you to transfer your data between Android devices via USB or Wi-Fi.
* Support the transfer of music, SMS, e-books, pictures, call logs, and more.
* Work for Android OS 6.0 and upper, including Android 15.
* Migrate contacts from iPhone to Android and vice versa.
Download the contact transfer software.
Download for Win Download for Mac
Here's how to copy contacts from Android to Android in 1 click:
Step 1: Download and install the data transfer software on your computer, and then run it on the desktop.
Step 2: Connect both Android phones to the computer with USB, or use the same Wi-Fi network if you want a wireless transmission.
Step 3: Enable USB debugging on both mobile devices. Once connected, make sure your recipient device is on the "Destination" side.
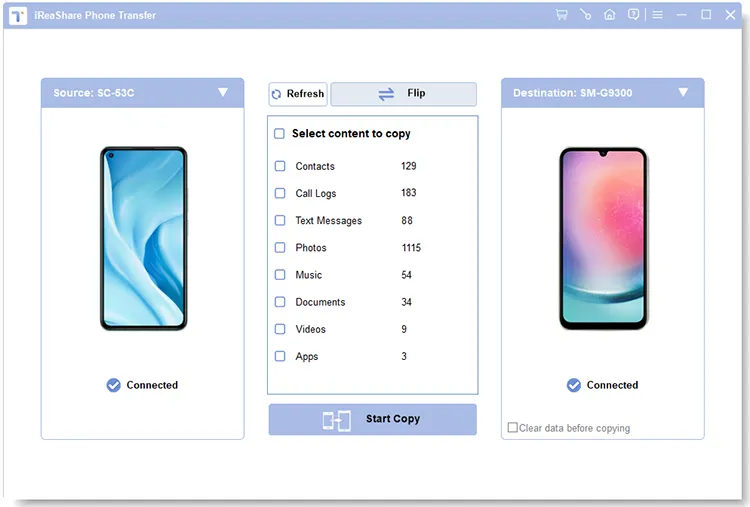
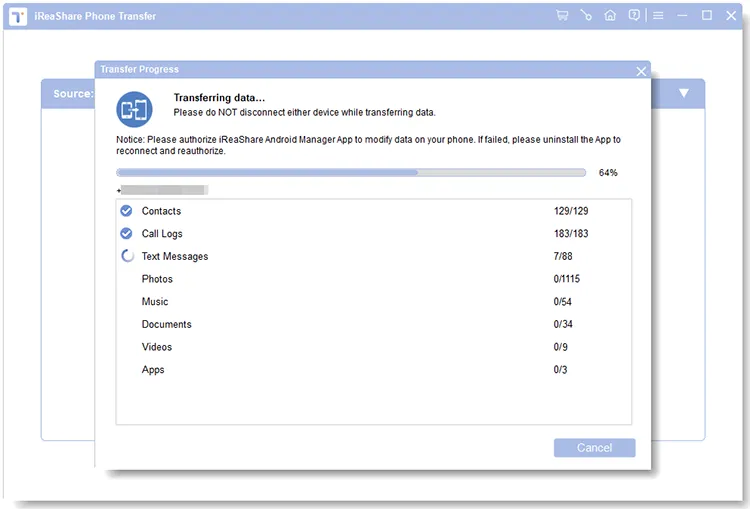
Step 4: Then check the "Contacts" option, and click "Start Copy".
Here's the video guide:
Part 2: How to Transfer Contacts from Android to Android via Quick Share
Quick Share (formerly known as Nearby Share) is Google's built-in file-sharing feature for Android devices. It offers a quick and wireless way to transfer various data types, including individual contacts.
Here's how:
Step 1: Ensure Quick Share is enabled on both your old and new Android phones. You can usually find this option in the Quick Settings panel (swipe down from the top of the screen). Make sure both devices are visible to each other.
Step 2: On your old Android phone, open the Contacts app, and select the contacts you want to transfer.
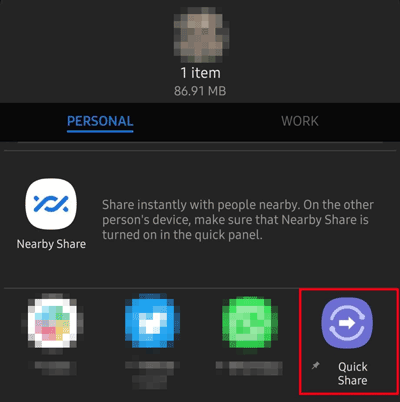
Step 3: Tap the "Share" icon (usually three connected dots or an arrow). From the sharing options, select "Quick Share".
Step 4: Your new Android phone should appear in the list of available devices. Tap on its name.
Step 5: On your new Android phone, you will receive a notification to accept the incoming files. Tap "Accept".
Step 6: The transferred contacts might be saved as vCard (.vcf) files. Open these files on your new phone and choose to import them into your Contacts app.
Part 3: How to Copy Contacts from Android to Android via Google Contacts
Have you installed Google Contacts on your Android phone? If not, you can try it, which can synchronize your local contacts to another device wirelessly. By the way, it requires sufficient cloud storage space and a stable network.
Here's how to import contacts to another Android device via Google Contacts:
Step 1: Install Google Contacts on your source Android phone, and then log in to your Google Account, or sign up for one.
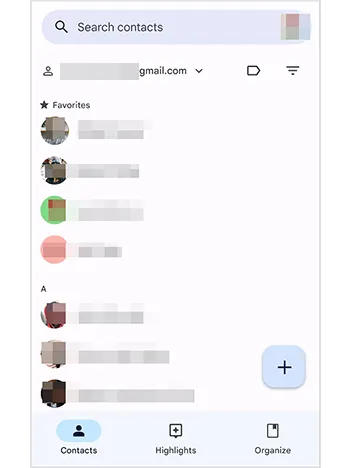
Step 2: Allow this app to access your contact information. Then your contacts will appear on the app.
Step 3: Install the same app and sign in to the same account on your receiver. Then you can access your contacts directly. If needed, you can export and save your contacts to the internal storage as a VCF file. Then import it to your built-in Contacts app.
Part 4: How to Transfer Contacts to New Android Phone via Google Account
If you have been syncing your contacts with your Google Account on your old Android phone, transferring them to your new Android device is incredibly simple. However, you need to complete the transfer during the setup on the new Android device.
Here's the guide:
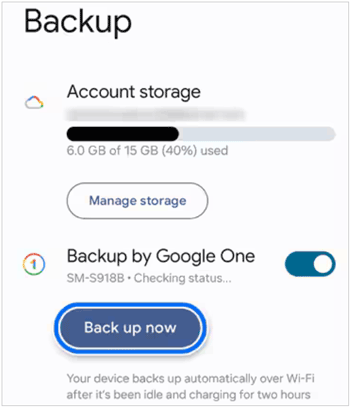
Step 1: Go to Settings on your old Android phone, and choose "Accounts and backup" > "Back up data" under Google Drive. Then click "Turn on" > "Back up now".
Step 2: Turn on your new Android phone and follow the on-screen instructions to begin the setup process.
Step 3: When prompted, enter the email address and password of the Google Account associated with your contacts on your old phone.
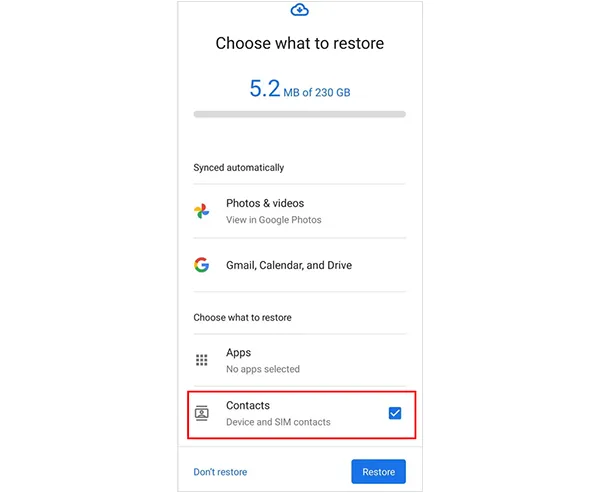
Step 4: During the setup, you will likely be asked if you want to restore data from a previous device or Google backup. Choose this option. Ensure "Contacts" is selected in the list of data to restore.
Step 5: Continue with the rest of the setup process. Your contacts will be downloaded and synced to your new phone in the background. Once the setup is complete, open your Contacts app to verify that all your contacts are present.
Part 5: How to Move Contacts from Android to Android via SIM Card
While less common now and with limitations on the number of contacts and the information stored per contact, transferring contacts via SIM card is a basic method.
Here are the steps:
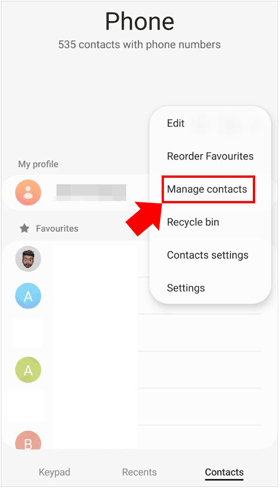
Step 1: Go to the Contacts app on your sender, and click the "Menu" icon. Then choose "Manage contacts".
Step 2: Choose "Export contacts" > "Export to SIM card". If your phone doesn't have this option, you cannot use this method.
Step 3: Remove the SIM card from your old phone and insert it into your new Android phone. Turn on your new Android phone. Open the Contacts app and look for the "Manage contacts".
Step 4: Choose "Import contacts" > "SIM" to select the contacts you want, and tap "Done". Once done, you can access your contacts on the new phone.

Part 6: How to Send Contacts from Android to Android via Email
For transferring contacts to another Android device, sending them via email as vCard (.vcf) files is a simple method.
Here's how:
Step 1: On your old Android phone, open the Contacts app, and click the "Menu" icon to choose "Manage contacts".
Step 2: Click "Export" > "Export to vCard". Then the contacts will be saved as a VCF file on your Android phone.
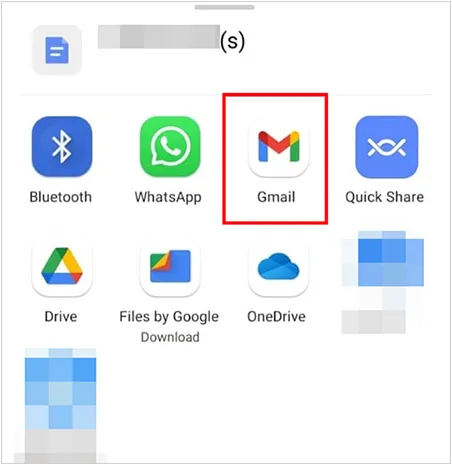
Step 3: Navigate to the VCF file, and click "Share" > "Mail". Then input your email address to the "To" field, and send the file to yourself.
Step 4: Log in to the same email account on your target Android device, and click "Inbox" to access that email. Next, download the VCF file.
Step 5: Go to the Contacts app on the target device, and import your contacts from the VCF file.
Part 7: FAQs About Transferring Contacts Between Android Devices
Q1: Will my contacts be lost during the transfer?
In general, you won't lose your contacts during the transfer. However, if you rely on methods like SIM card transfer, ensure that you back up your contacts beforehand to avoid data loss.
Q2: What should I do if my contacts don't sync properly?
Ensure that your devices are connected to Wi-Fi, that your Google Account is synced properly, and that the sync option for contacts is enabled. If that doesn't work, try removing and re-adding your Google Account.
Conclusion
It isn't a headache to transfer contacts from Android to Android with the help of these 6 methods mentioned above. As a direct transfer tool, iReaShare Phone Transfer can copy all your Android contacts to another mobile device with several clicks. It not only transfers contacts but also copies photos, videos, and more. If you want an efficient data migration, you can try it.
Download for Win Download for Mac
Related Articles
Contact Backup and Restore on Android: 5 Reliable and Convenient Methods
Solved: How to Sync Contacts from iPhone to Mac with Ease