If your photos occupy the most storage space on your iPhone, why not transfer photos from the iPhone to a computer? You may want to do this but have no idea how to start it? If so, this guide is what you are looking for. We've shared 6 approaches with step details. You can follow one way to transfer your iPhone pictures to your PC with ease.

- Part 1: How to Transfer Photos from iPhone to Computer with iReaShare iPhone Manager
- Part 2: How to Transfer Photos from iPhone to PC with Apple Devices App
- Part 3: How to Send Photos from iPhone to Computer via iTunes
- Part 4: How to Download Pictures from iPhone to Computer with iCloud
- Part 5: How to Move Pictures from iPhone to Computer with Photos App
- Part 6: How to Upload Photos from iPhone to Computer with Google Photos
- Part 7: FAQs About Photo Transfer from iPhone to PC
Part 1: How to Transfer Photos from iPhone to Computer with iReaShare iPhone Manager
You can easily copy photos from an iPhone to a PC with iReaShare iPhone Manager, a program for transferring and managing various iOS data. With this software, you can preview your iPhone photos on the computer before transferring them. Furthermore, it can transfer all photos at one go with original quality and formats.
Main features of iReaShare iPhone Manager:
* Efficiently transfer photos from an iPhone to a computer.
* The transferred photos will not replace the existing photos on your PC.
* Allow you to directly import pictures from your PC to your iPhone.
* The selective transfer is supported.
* Transfer text messages, videos, contacts, e-books, and more from iOS to a computer.
* Support iOS 5.0 and upper, including iOS 18.
Download iReaShare iPhone Manager.
Download for Win Download for Mac
Here's how to transfer photos from an iPhone to a Windows 11/10 PC with this software:
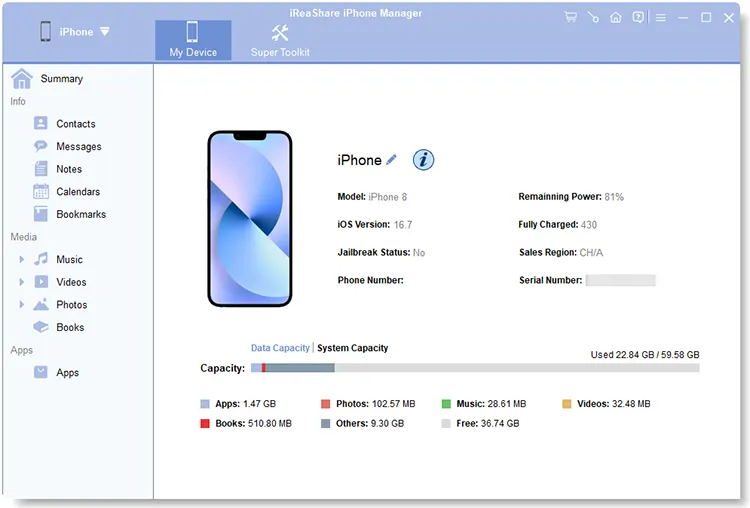
Step 1: Install the iPhone Manager software on your PC, and then connect your iPhone to the PC with USB.
Step 2: Click "Trust" on the iPhone to complete the connection. Then choose "Photos".
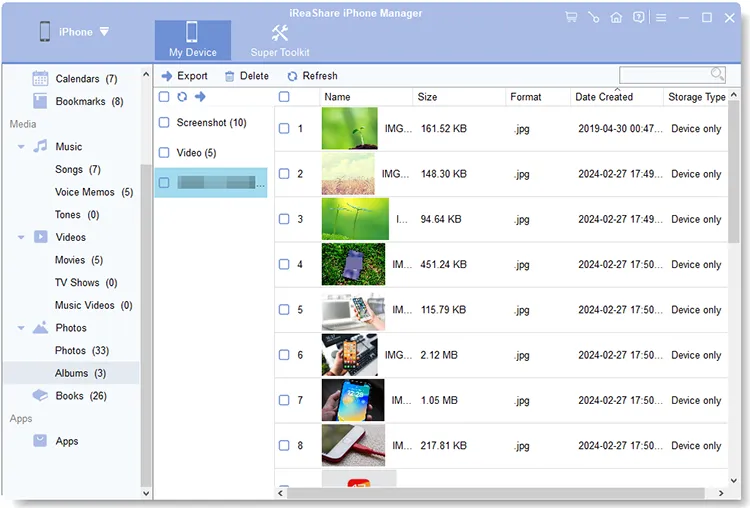
Step 3: Choose the photos you want to transfer, and click "Export" to save the selected photos from your iPhone to your PC.
Part 2: How to Transfer Photos from iPhone to PC with Apple Devices App
The Apple Devices app can help you manage and sync your iPhone music, movies, photos, and more media files on a Windows PC, This app is now available for download on Microsoft Store. However, it is slightly difficult to connect an iOS device to a PC. If you meet this situation, please connect your iPhone to the PC with USB, and download and run i4Tools on your PC. After i4Tools recognizes your iPhone, close i4Tools, and open Apple Devices. Then it will work well.
Here's how to move pictures from an iPhone to a computer via Apple Devices:
Step 1: Download and install the Apple Devices app on your PC, and connect your iPhone to the PC via USB.
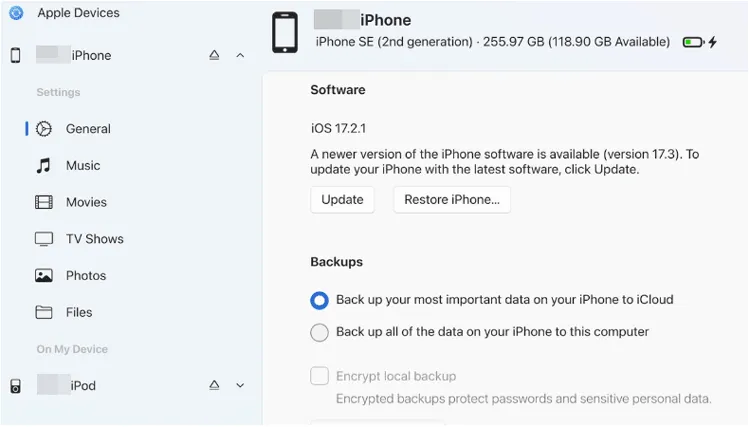
Step 2: If prompted, unlock your iPhone screen, and make it trust your computer. Then choose "Photos" on the left panel.
Step 3: Choose the "Sync photos from my device from" checkbox, and select an option from the popup.
Step 4: Choose "All Folders" or "Selected Folders" to opt for the albums you want to sync.
Step 5: Click "Apply". Then your photos will be synced from your iPhone to your PC.
Part 3: How to Send Photos from iPhone to Computer via iTunes
If the installed iTunes on your PC still works, you can use it to import photos from your iPhone to your Windows computer. However, Apple is phasing out iTunes, so it may not be compatible with new iOS models. If it cannot support your iPhone, please use other methods.
Here are the steps:
Step 1: Connect your iPhone to your computer with USB. Then, in general, iTunes will pop up automatically. If not, open it.
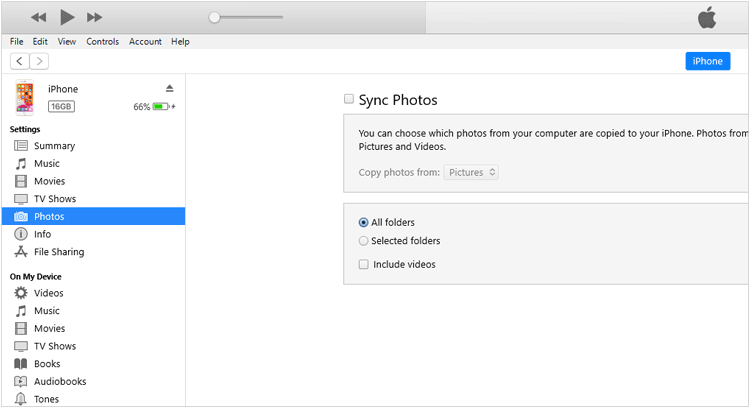
Step 2: Choose the "iPhone" icon, and choose the "Photos" option in the left-hand sidebar.
Step 3: Check the "Sync Photos" checkbox, and select a source you want to sync. Then select a specific folder on your PC to save your photos.
Step 4: Click "Apply" or "Sync" to begin the process. Your photos will appear in the folder you selected.
Part 4: How to Download Pictures from iPhone to Computer with iCloud
You can upload your pictures from your iPhone to your iCloud account, and then download them to your computer with a network, which is a handy approach to photo transfer.
Here how to export photos from iPhone to PC using iCloud:
Step 1: Go to the Settings app on your iPhone, and click your username.
Step 2: Choose "iCloud" > "Photos". If you want to save your iPhone storage space, you can choose "Optimize iPhone Storage". Then your original photos will be stored in iCloud and the optimized versions will be kept on your iPhone.
Step 3: Go to iCloud Photos on your PC, and log in to your iCloud account. Then select the photos you want to save, and click the "Download" icon in the top-right corner to download them on the PC.
Part 5: How to Move Pictures from iPhone to Computer with Photos App
If there is no Wi-Fi network to copy your photos from your iPhone to your computer wirelessly, you can utilize the built-in Photos app on the Windows computer. As long as you establish the connection between both devices with USB, you can move photos easily.
Here's how to transfer photos from an iPhone to PC Windows 11/10 with the Photos app:
Step 1: Link your iPhone to your PC with a USB cable, and make the mobile device trust the PC.
Step 2: Click "Start" and choose the Photos app on the PC.
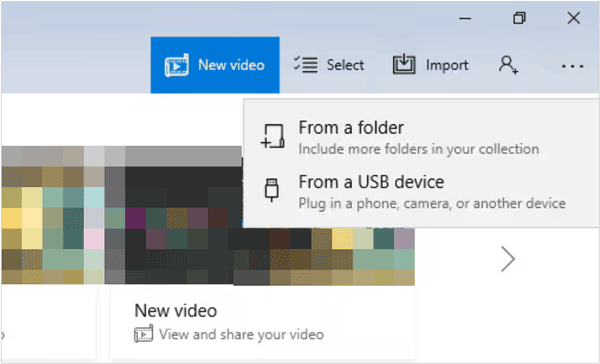
Step 3: Tap "Import" > "From a USB device" to select your iPhone. Then opt for your desired pictures. After that, you can access your photos on the computer. Now, safely disconnect the iPhone from the PC.
Part 6: How to Upload Photos from iPhone to Computer with Google Photos
Google Photos will be a helpful option if you want to upload photos from an iPhone to a computer. First, every Google Account has 15 GB of free cloud storage. Second, you can conveniently organize and download photos with Google Photos. Thus, it is worth a try.
Here are the steps:
Step 1: Download and install Google Photos on your iPhone, and then sign in to your Google Account, or sign up for an account.
Step 2: Click your profile, and choose "Google Photos settings" > "Backup".
Step 3: Enable the "Backup" feature. Then your pictures will be automatically uploaded to Google Photos. By the way, please ensure the network is stable.
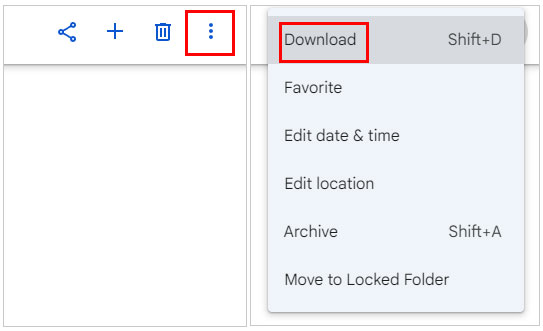
Step 4: After uploading, open the browser on your PC, and access Google Photos. Next, log in to the same account, and download the the photos to the computer.
Part 7: FAQs About Photo Transfer from iPhone to PC
Q1: Will my photo quality be reduced after transferring to my computer?
It depends. If you choose Google Photos, you can select the original quality in the settings. Then the app will not reduce the resolutions of your pictures. Besides, many apps can transfer photos with original quality and formats, such as iReaShare iPhone Manager, iCloud, etc.
Q2: Can I use a USB stick to transfer photos from my iPhone to my computer?
Of course, you can. But please note that the USB port of the USB stick should be compatible with the port on the iPhone, or you can use a USB adapter. Here are the steps:
- Plug the USB stick into your iPhone, and open the Photos app on your iPhone.
- Select the images you want, and click "Share" > "Save to Files".
- In the Files app, navigate to "Locations", select the USB stick, and click "Save". Then the photos will be stored on the USB stick.
- Connect the USB stick to your computer, and access "This PC" to find the USB stick.
- Navigate to your photos, and copy and paste them to a folder on the computer.
Conclusion
It's not difficult to transfer photos from an iPhone to a computer anymore. However, if you want to transfer many photos efficiently, you will need a professional transfer program, like iReaShare iPhone Manager. This software enables you to view, select, transfer, and even manage your iPhone photos on a PC. Give it a shot if you are interested in it.
Download for Win Download for Mac