When your iPhone or iPad is black-screen, frozen, stuck on the Apple logo screen or DFU mode, keeps restarting, and the like, you can repair your device with iOS System Recovery by following this guide.
Part 1: Connect iOS Device to PC
Step 1: Please download the installation package on your PC, and double-click it to install it.
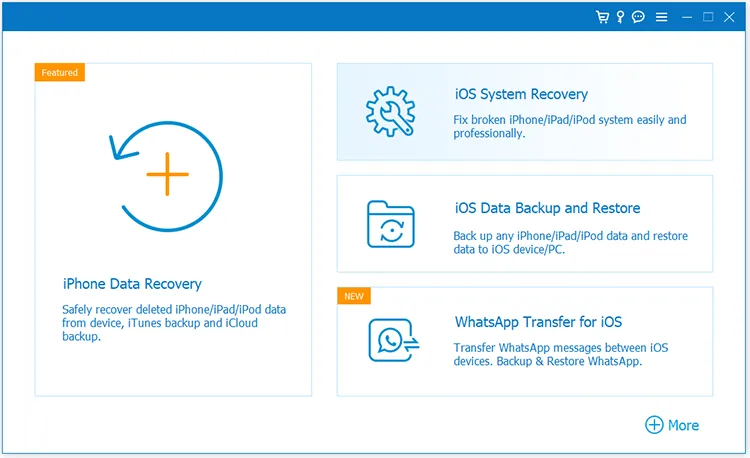
Step 2: Launch the software, and choose "iOS System Recovery". Then link your iOS device to the PC with USB.
Step 3: Click "Start" to continue, and the software will detect the connected iOS device.
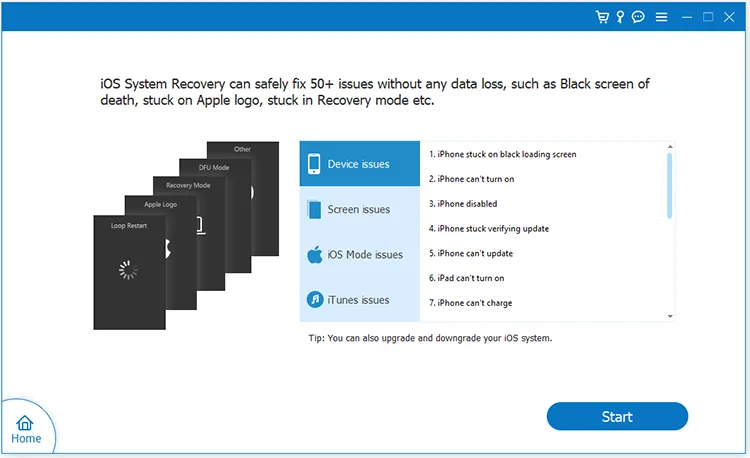
Part 2: Repair iOS System Issues
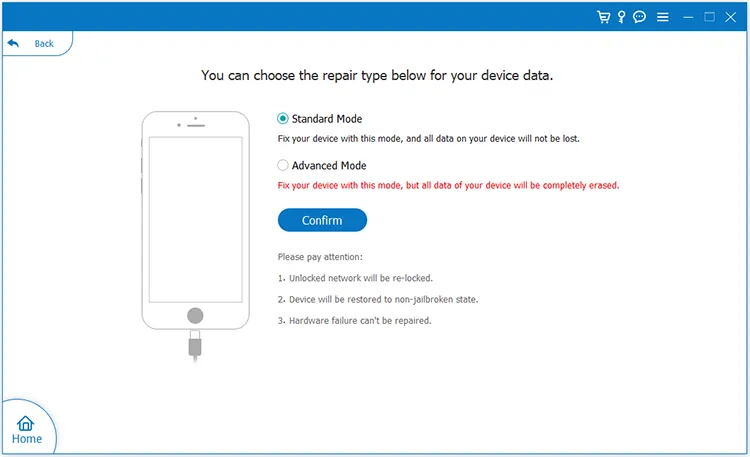
Step 1: After connecting, choose a mode to repair your device. If you don't want to lose data, please select "Standard Mode", and tap "Confirm".
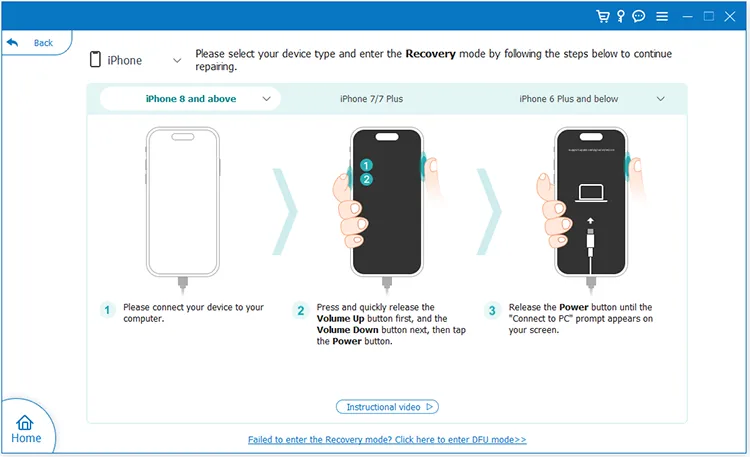
Step 2: Select your device type, and get it entered into the Recovery Mode by following the on-screen tutorial. Or you can click "Instructional video" to view the detailed steps.
Step 3: Choose your device's category, type, and model. Then select an iOS version, and click "Repair".
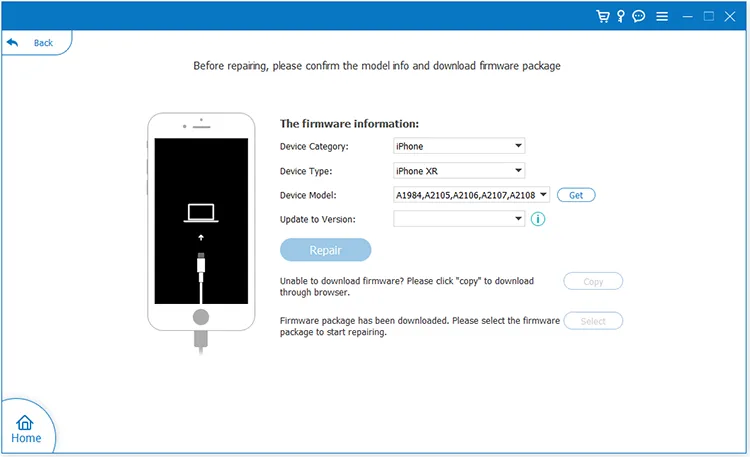
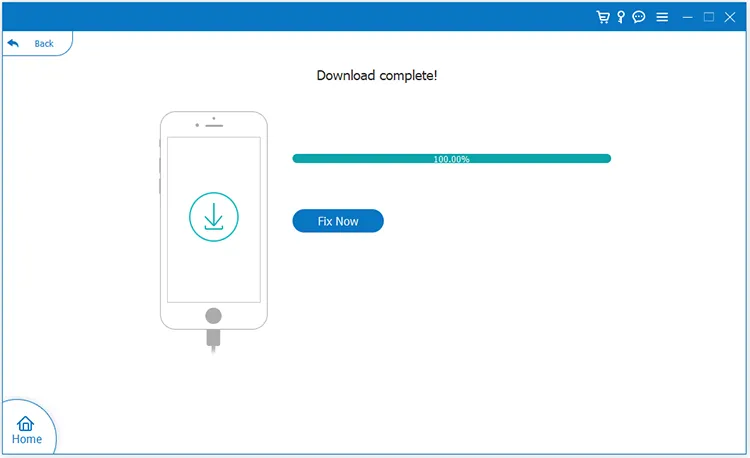
Step 4: The program will download the firmware package. After that, click "Fix Now" to repair your iOS device. Once done, your iPhone or iPad will be back to normal.
Part 3: Upgrade or Downgrade iOS
Step 1: If you just want to upgrade or downgrade your iOS version, steps will be easier. Please connect your iPhone or iPad to your PC, and run iOS System Recovery on the desktop.
Step 2: Click "Start" > "Fix" > "Standard Mode" > "Confirm", and then choose the category, type, and model of your iDevice. Then select an iOS version on the list, and click "Next".
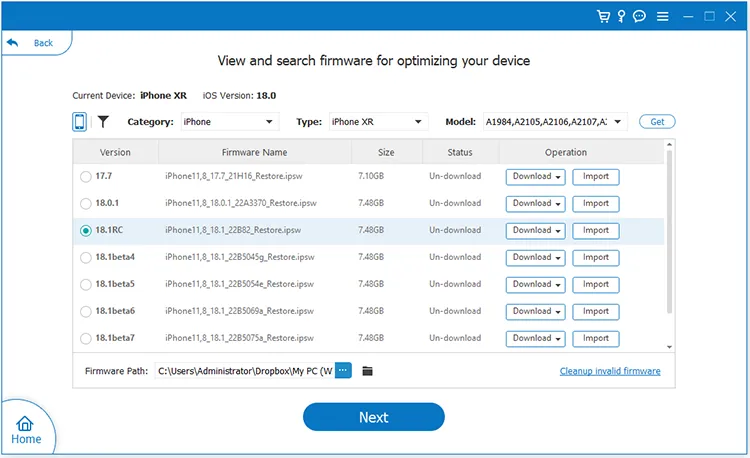
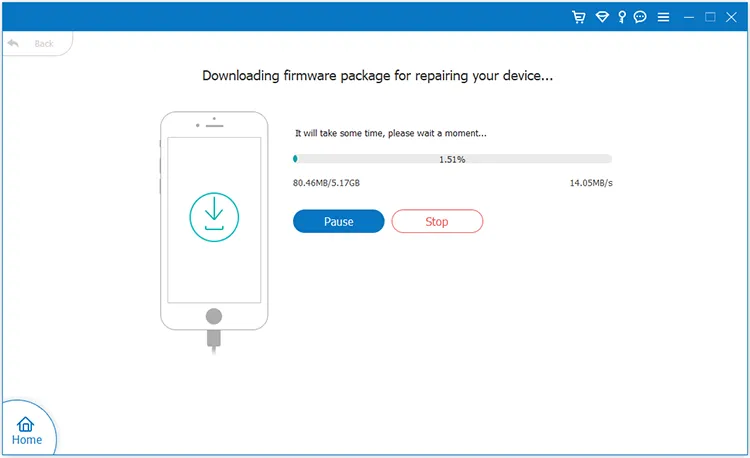
Step 3: Then it will download the firmware package.
Step 4: After downloading, click "Fix Now" to install the target iOS version on your connected iOS device.
Conclusion
These are all the steps about how to use iOS System Recovery. Whether you want to repair your iOS issues or upgrade or downgrade the iOS version, you can easily do it with this guide.


