How can you remove all sensitive data from your Windows computer, USB flash drive, or SD card? If you are faced with this problem, you can use Data Erasure to recover your data on your PC.
Part 1: How to Download and Install Data Erasure
Step 1: Go to the webpage of Data Erasure, and click "Try for Free" > "Free Download" to download the software on your PC.
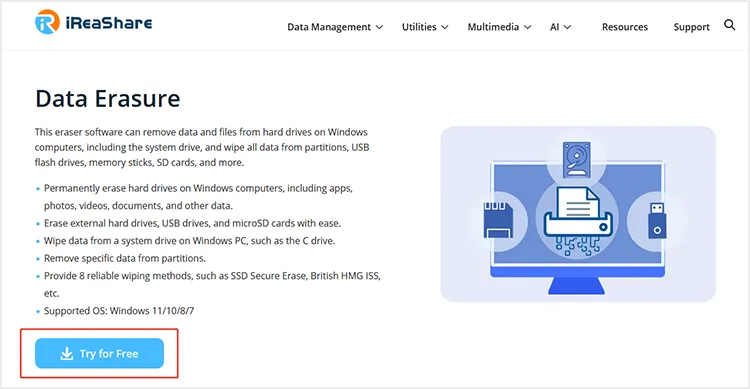
Step 2: After downloading it, double-click the file to install the drive eraser software on the computer.
Step 3: Once done, click "Start Now" to use it.
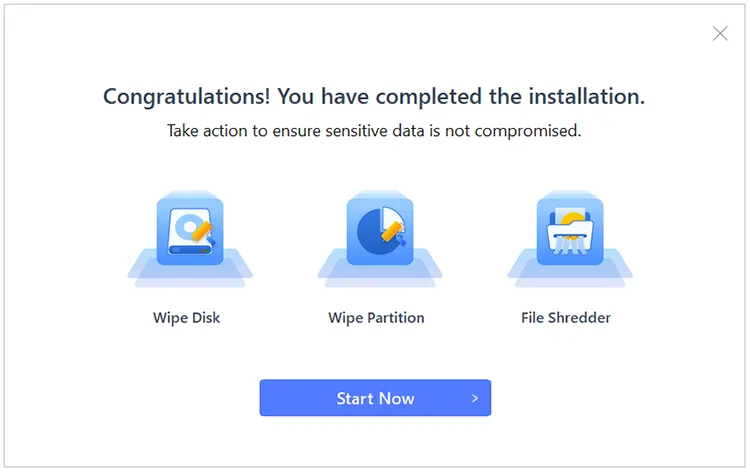
Note: If you want to use the full erasure feature, you need to purchase a license, and use the license code to register the program.
Part 2: How to Wipe a Hard Drive or USB Drive on PC
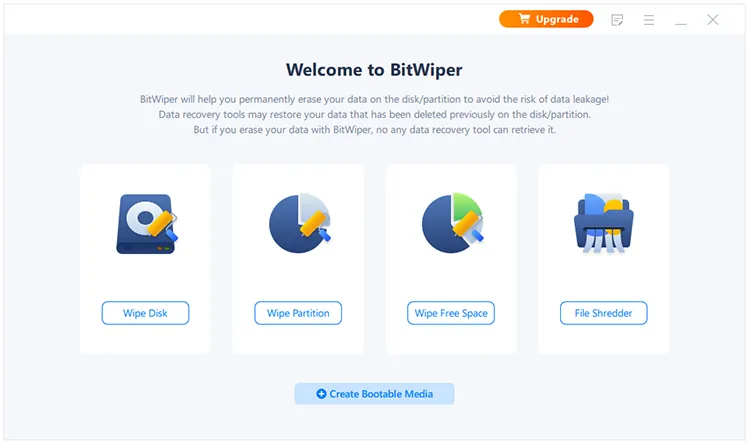
Step 1: To use this Windows eraser software and wipe a hard drive on your PC, please click "Wipe Disk". If you want to erase data from a USB drive or SD card, please insert it into the PC.
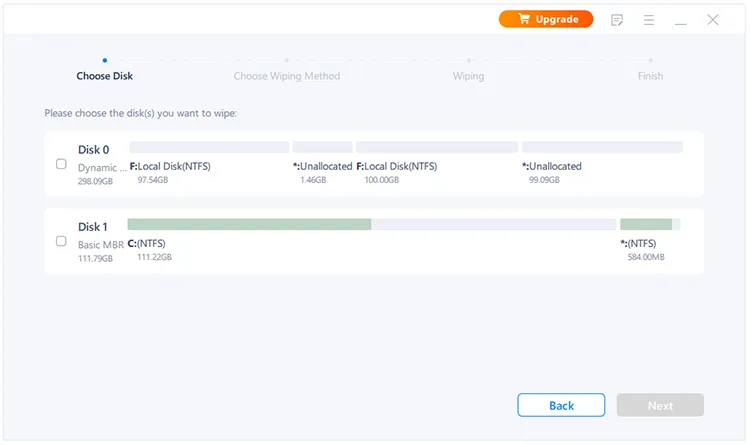
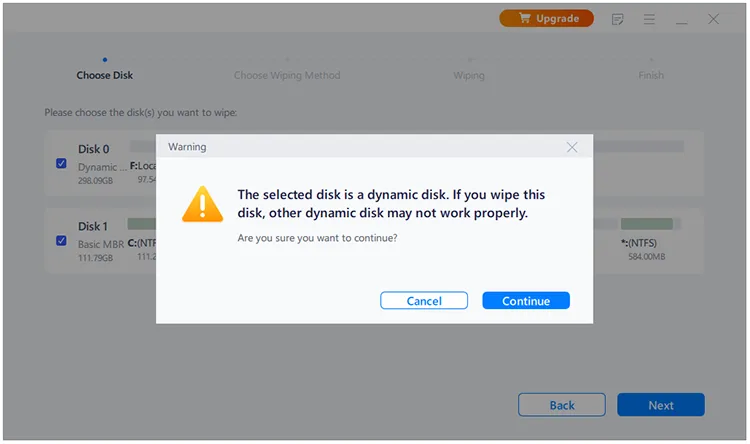
Step 2: Choose the disk you want, and click "Next". By the way, you can wipe one disk only every time.
Step 3: If you choose a dynamic disk, it will pop up a warning for confirmation. You can click "Continue" to go on.
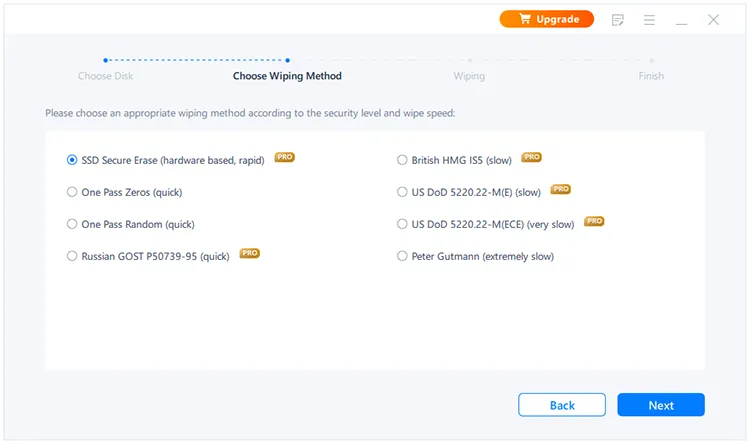
Step 4: Now, choose a wiping method according to the security level and wiping speed.
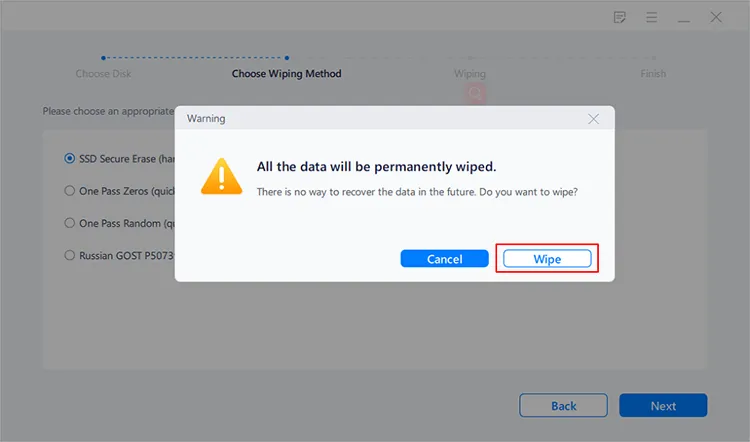
Step 5: Finally, click "Wipe" to start wiping the selected hard drive. During the process, it requires you to reboot your PC. Please click "Reboot" if it pops up. Once done, tap "Done" to finish it.
Part 3: How to Wipe a Partition on PC
Step 1: If you want to erase a partition on your PC, please choose "Wipe Partition".
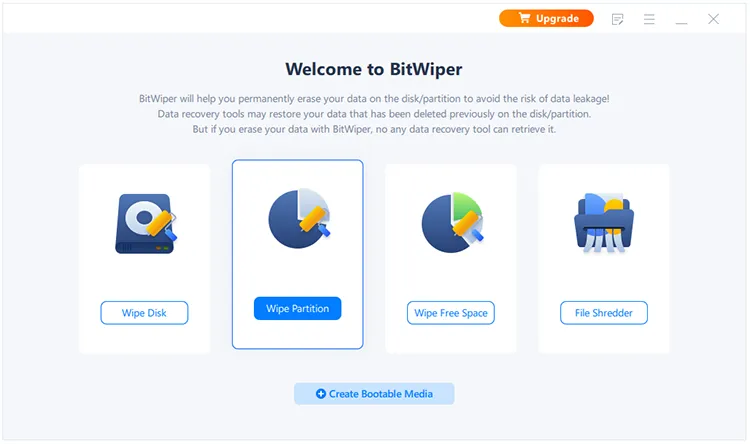
Step 2: Choose a partition you want to wipe, and click "Next".
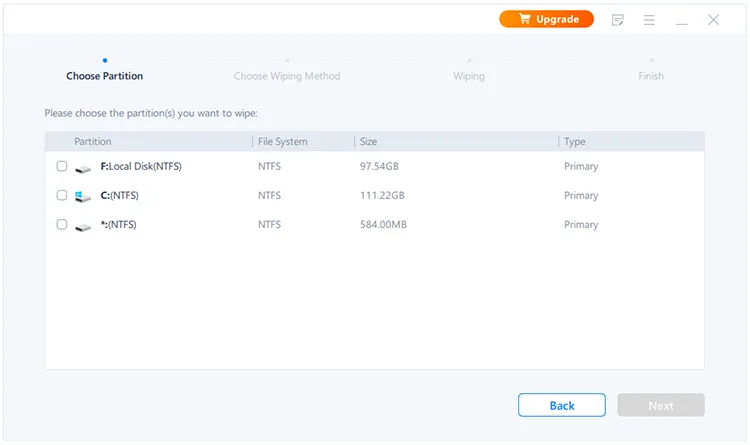
Step 3: Select a method to wipe the partition, and tap "Next".
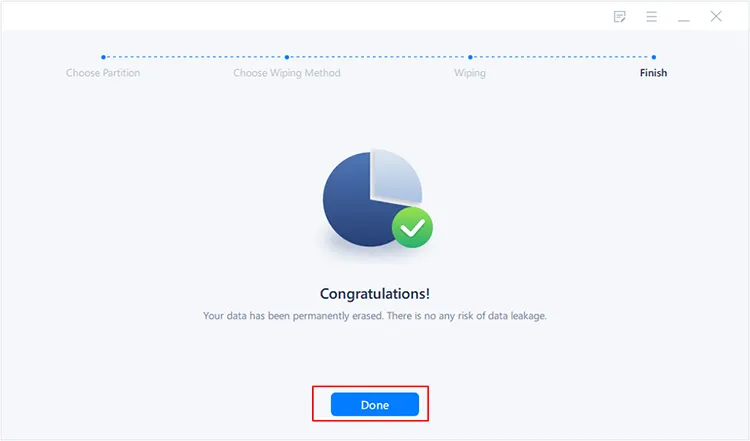
Step 4: Then click "Wipe" to start wiping the partition on your PC. After that, click "Done".
Part 4: How to Wipe Free Space on PC
Step 1: If you want to erase deleted data from the free space on your PC, you can launch PC file eraser and opt for "Wipe Free Space".
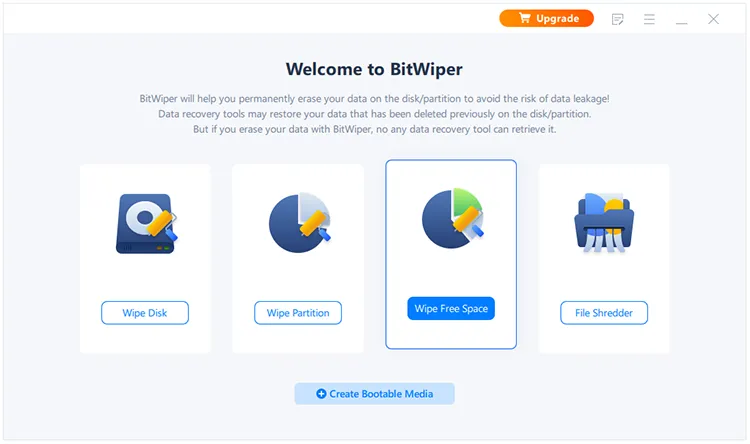
Step 2: Select a disk you want, and click "Next". Then choose a wiping method, and tap "Next" again.

Step 3: If prompted, please click "Yes" to allow the program to access your PC data. Then it will begin to wipe the selected free space.
Part 5: How to Shred Files Completely
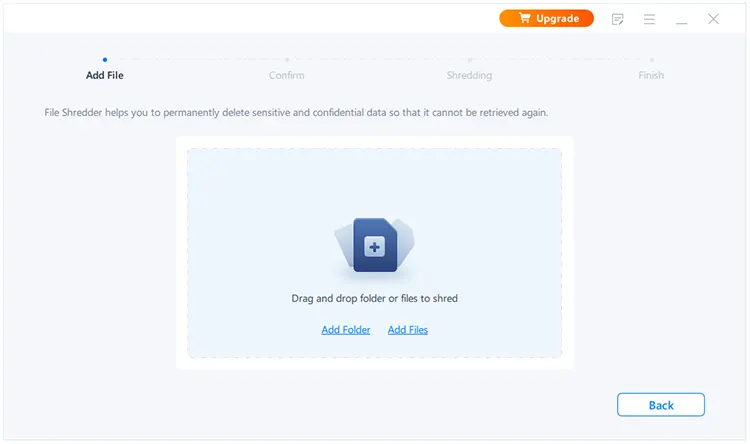
Step 1: You can also use this data eraser tool to shred files thoroughly on your PC. Launch it and choose "File Shredder".
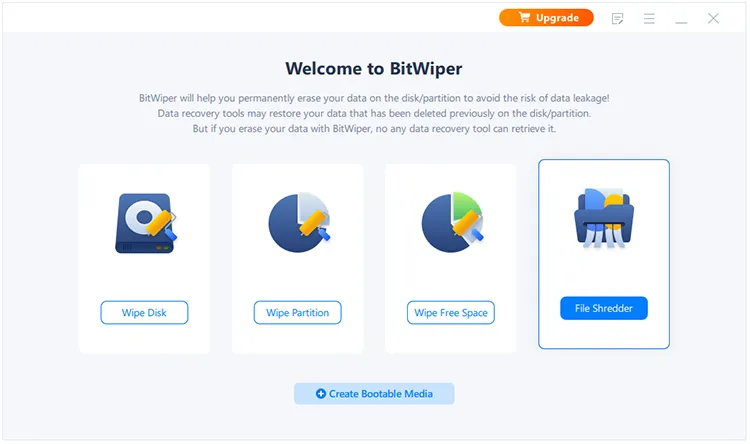
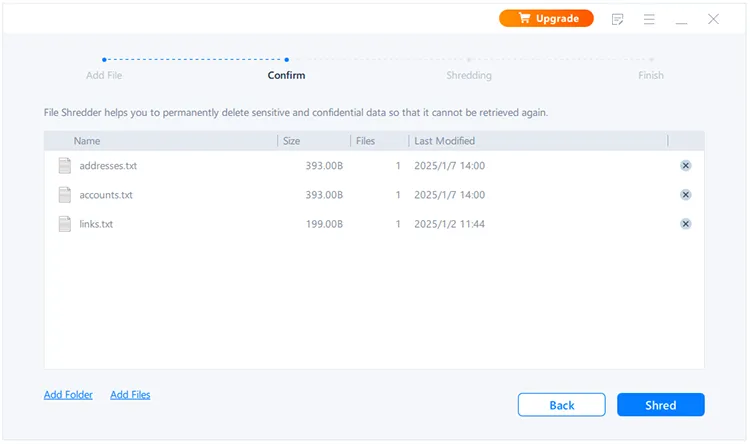
Step 2: Then drag and drop folders or files to the middle area, or click "Add Folder" or "Add Files" to select the data you want to shred.
Step 3: Click "Shred" at the bottom, and the program will shred the files immediately. After that, click "Done".
Part 6: How to Create Bootable Media USB
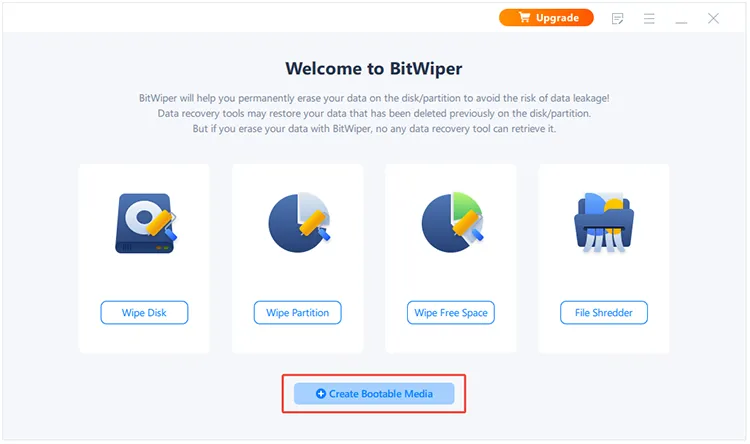
Step 1: Run the software on your PC, and click "Create Bootable Media" at the bottom.
Step 2: Connect a USB drive, CD, or DVD disk to the PC. Then click "Browse" to choose the drive or disk. You can also choose an ISO file. Next, tap "Create".
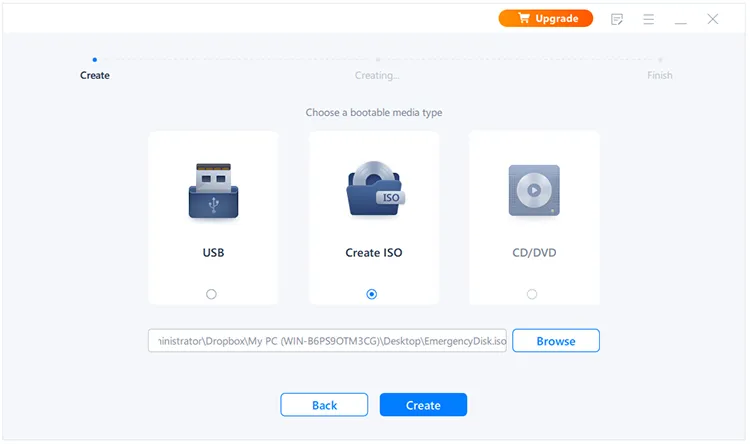
Step 3: If prompted, click "Yes" to continue. Once done, it will require you to restart your PC.
Conclusion
That's all there is to the Data Erasure user guide. We've provided detailed instructions for each feature, so you can refer to the specific section that meets your needs. If you have any further questions about the software, feel free to leave a comment below. We'll get back to you within one business day.


