If you fail to erase Android data when using the Android Data Eraser, don't worry, you can fix it with this guide. We have explained the cause in detail, and provided effective methods in the following parts. You can solve the issue and complete the erasure for your Android device with ease.
Part 1: Why I Fail to Erase Android Data
Why did you fail to erase your Android data with the Android Data Eraser program? According to the responses from users and our app testing, usually there are these reasons:
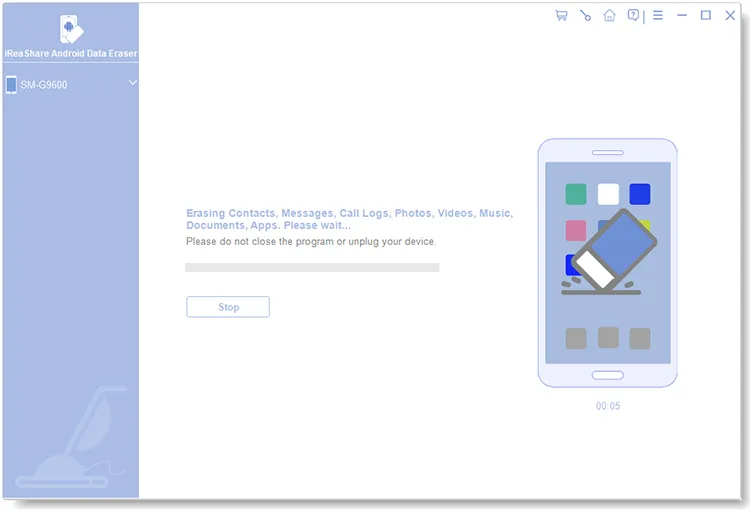
- The erasing process is interrupted. The whole process has 3 phases: Scanning, Erasing, Overwriting. If you click "Stop" in the process, the progress will be suspended, which will lead to failure.
- The connection is lost. For some Android models, when the screen is black, the connection will be impacted.
- The software cannot access your device's data. If you don't allow the software to access your contacts, call logs, or other data, it cannot erase all your data from the device.
- Your device is compatible with the software. This program works for Android OS 6.0 and upper.
- The installation of the program is corrupted. If you install the software improperly, it cannot work well on your computer.
Part 2: How to Fix It When I Fail to Erase Android Data
It's easy to solve the issue of erasure failure. Follow the solutions in this part to work it out.
Solution 1: Do Not Stop the Process
When using the software to erase your Android data, you should not tap "Stop" if you want to complete the process at once. The interruption in the erasing process will result in incomplete erasure.

Solution 2: Set the Screen to Always On
If you find that the unsuccessful data erasure is due to the black screen on your Android phone, you can set the screen to be always on in Settings.
Here's how:
- Go to Settings on your Android device, and then find and click "Display".
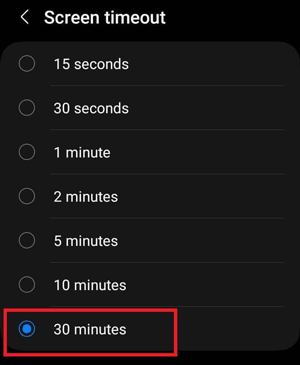
- Tap "Screen timeout" or "Sleep", and choose the longest duration available (usually 30 minutes).
- If there is no "Always on" option, you can touch your screen from time to time during the process.

Solution 3: Authorize the Permissions of Your Android Data
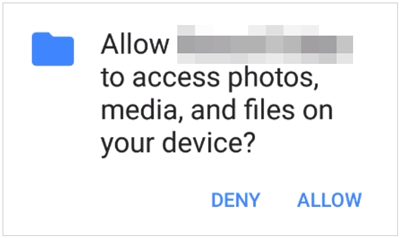
When there is a popup on your Android device asking the access permission of your data, please click "Allow".

Solution 4: Update Android OS
Android Data Eraser is compatible with Android 6.0 and upper, including the latest Android 14. If the operating system of your Android device is older than Android 6.0, please update the OS first.
Update Android OS:
- Make sure your Android device is connected to a stable Wi-Fi network, and go to Settings.
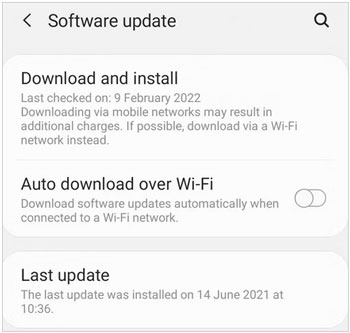
- Find and click "Software update".
- If there is a new version available, please click "Download and install" to initiate the update process.

Solution 5: Reinstall the Program
Sometimes, there is something wrong during the installation process because of a unstable network or other factors, which will make the program corrupt even if you install it successfully on your computer. Thus, please uninstall the program from your computer and then reinstall it.
Solution 6: Contact Us
Can't solve the problem with the previous methods? Please feel free to contact us by email at support@ireashare.com. To help you solve the issue better, please describe the problem in detail, including your Android model, Android OS, computer OS, and the screenshots of the interface.
Extra Tip: Is Factory Reset Enough Before Selling an Android Phone?
Factory resetting your Android device will wipe all your data and custom settings. However, it cannot overwrite your deleted data. If someone uses robust recovery techniques, your deleted data may be recovered.
If you want to sell your Android phone to a stranger, you'd better use iReaShare Android Data Eraser to erase your device because it can overwrite all the data 3 times, which is more secure than performing a factory reset.
Conclusion
All the reasons, solutions, and tips for erasing Android data have been shared in this article. If your friend also encounters a similar situation, you can help him or her by sharing this URL directly.


