iReaShare Android Data Eraser can thoroughly wipe all data and customized settings from Android devices at once. After using this data eraser, no one can recover their data from their Android devices. To help you easily use this software, we have provided a detailed guide for you, helping you complete the Android data erasure step by step.
Part 1: Connect Android Device to Computer
Above all, please download and install iReaShare Android Data Eraser on your computer.
The software supports two connections: USB and Wi-Fi. Thus, you can choose USB or Wi-Fi to connect your Android device to your computer based on your needs.
1.1 Connect Android to Computer via USB
Step 1: Open the iReaShare Android Data Eraser on your PC after downloading and installing it.
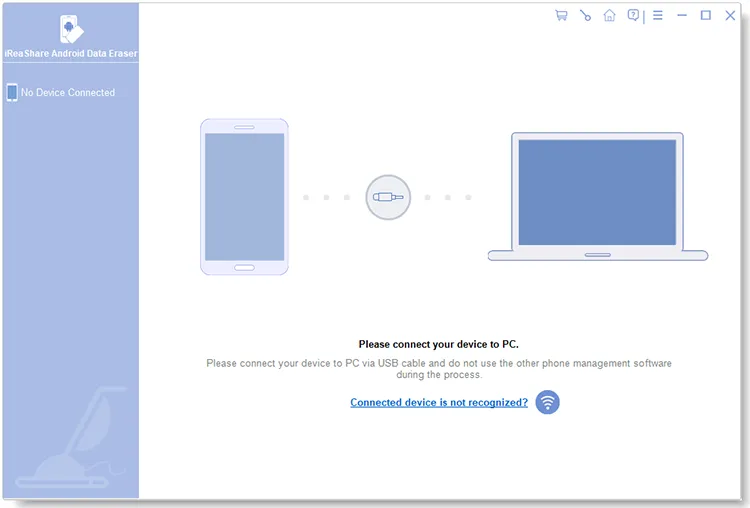
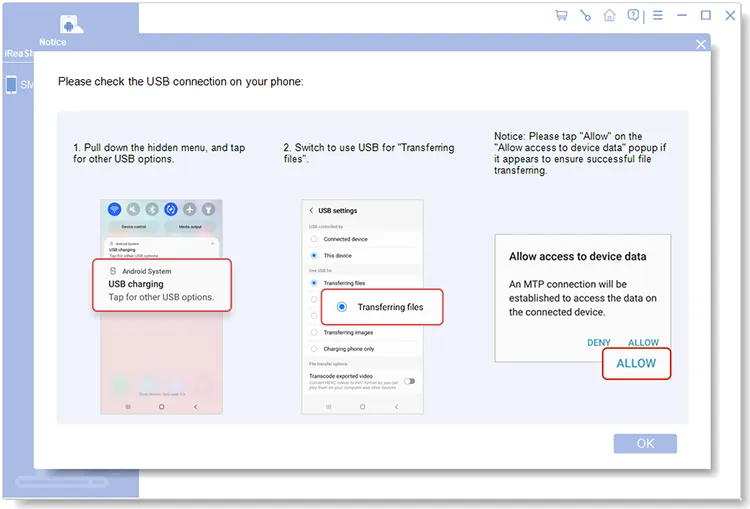
Step 2: Connect your Android phone to your computer via a USB cable, and follow the instructions on the interface to activate the USB debugging feature on the Android device.

Step 3: Choose "Transfer files" or "MTP" on the Android popup, and click "ALLOW". Then the software will recognize your device swiftly.
1.2 Connect Android to Computer via Wi-Fi
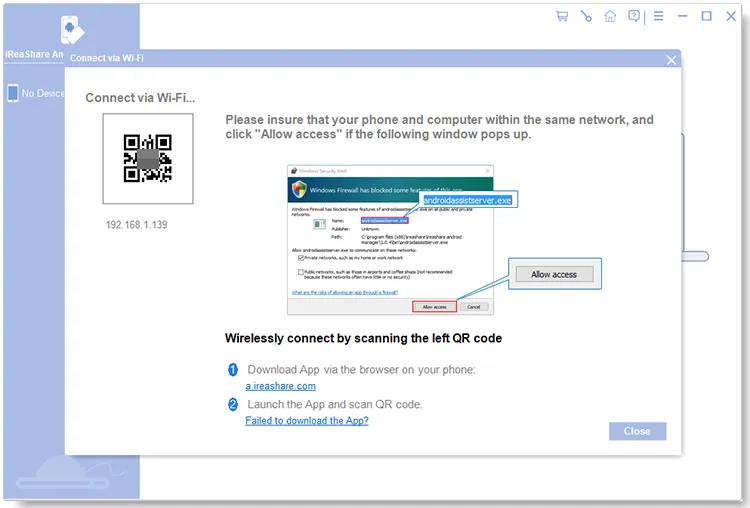
Step 1: To connect your Android phone to your computer with Wi-Fi, please click the "Wi-Fi" icon when launching the software.
Step 2: Tap "Allow access" on the pop-up window, and click "a.ireashare.com" to download and install the Android Manager (Android version) app on your mobile device.
Step 3: Open the app, and click the "Scan" icon to scan the QR code on your computer. Then the wireless connection will be done.
Part 2: Erase Android Data and Settings Permanently
After the connection, you can now completely erase your Android data and settings. Please back up your important data before erasing your device, or you will lose your data forever. Besides, do not disconnect your Android device from your computer until the erasure is finished.
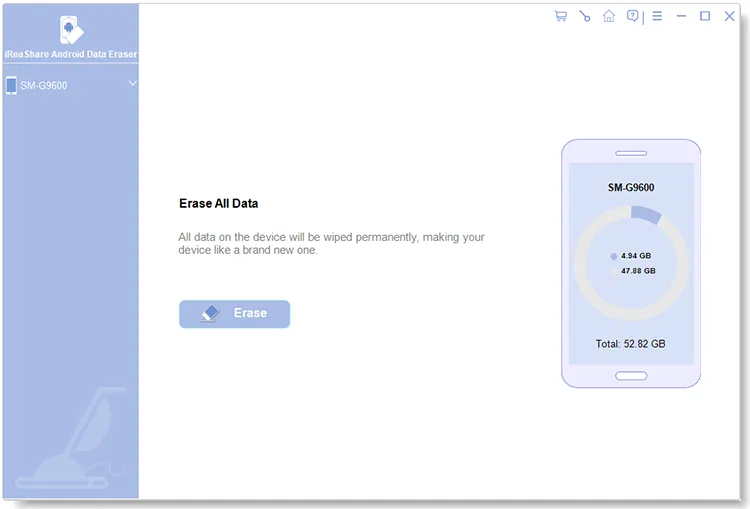
Step 1: Click the "Erase" icon on the connected interface.
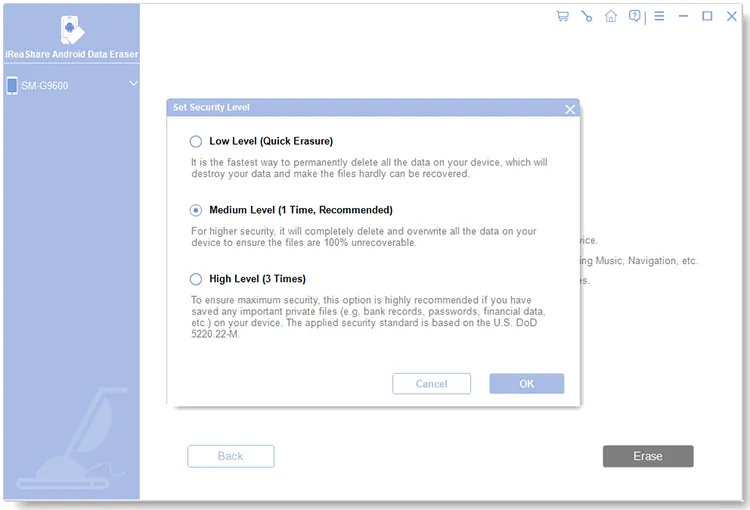
Step 2: Click "Medium" to opt for an erasing level: Low Level, Medium Level, and High Level. Then click "OK".
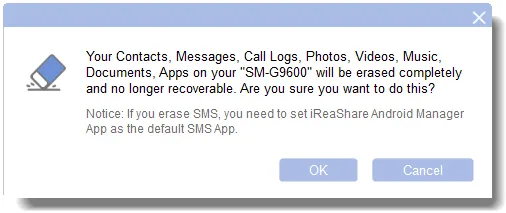
Step 3: Type "delete" into the blank, tap "Erase" at the bottom, and click "OK" on the pop-up window.
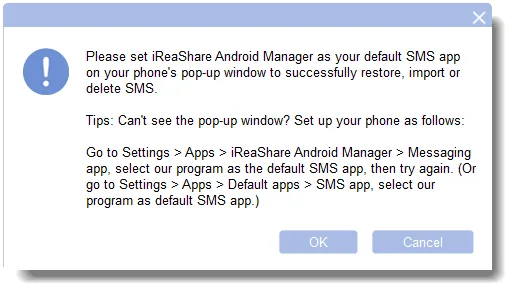
Step 4: To erase your messages completely, you need to follow the on-screen guide to set the iReaShare Android Manager app as the default SMS app on your Android device.
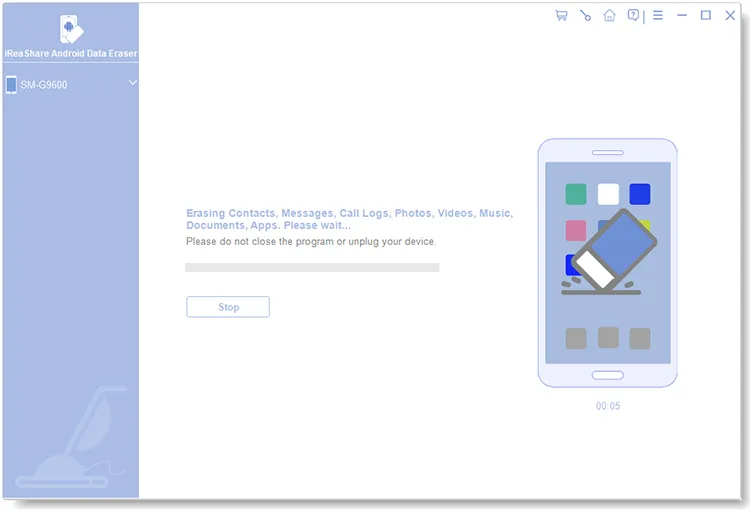
Step 5: After that, the software will start to erase your data.
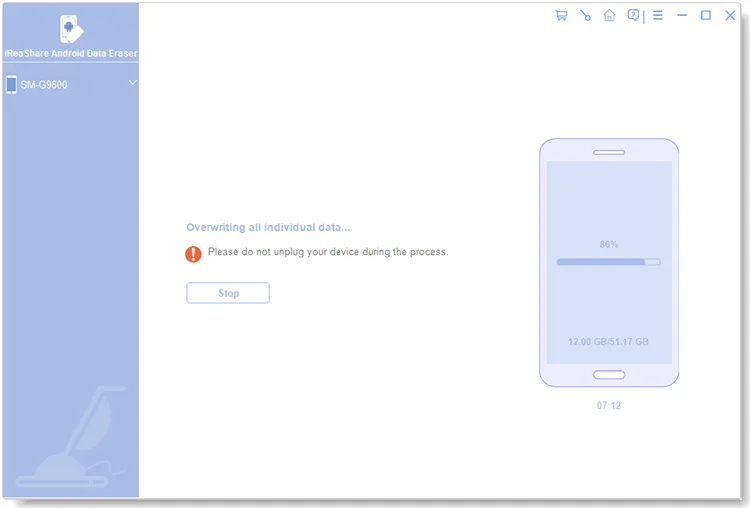
Step 6: After erasing data, the program will overwrite your data to make sure all your data will be wiped thoroughly. However, if you choose "Low Level", the software will not overwrite your device.
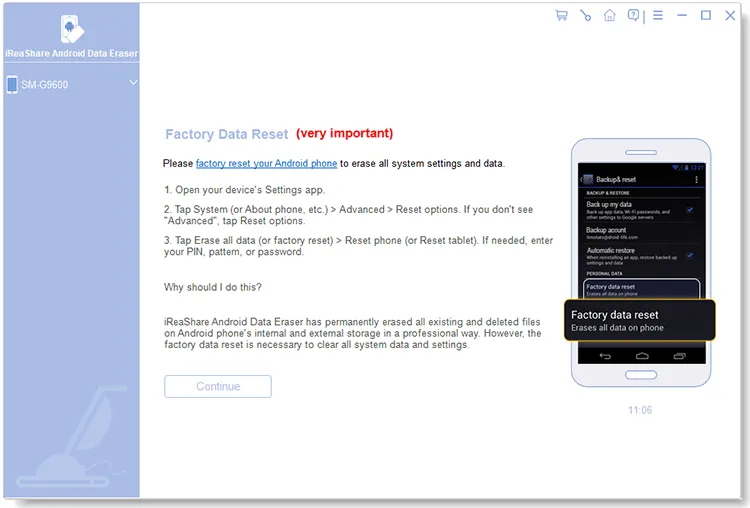
Step 7: Once done, the software will remind you to factory reset your Android device. Please follow the guide on the interface to reset your device. After that, click "Continue", and then set up the Android device.
Conclusion
The permanent data erasure for Android devices is not difficult to complete if you use iReaShare Android Data Eraser. It can erase all data and settings, and overwrite the device to prevent your information from being recovered.