iReaShare Data Wipe, an effective data eraser tool, can erase specific files, folders, wipe entire hard drives and external devices, and erase deleted data from free space on a computer. With this guide, you can easily use this data wiper to protect your privacy.
Part 1: Download and Install iReaShare Data Wipe
From the beginning, please download iReaShare Data Wipe on your Windows PC, and then install it. Once installed, you can launch the program and go to the next part.
Part 2: How to Shred and Erase Files and Folder
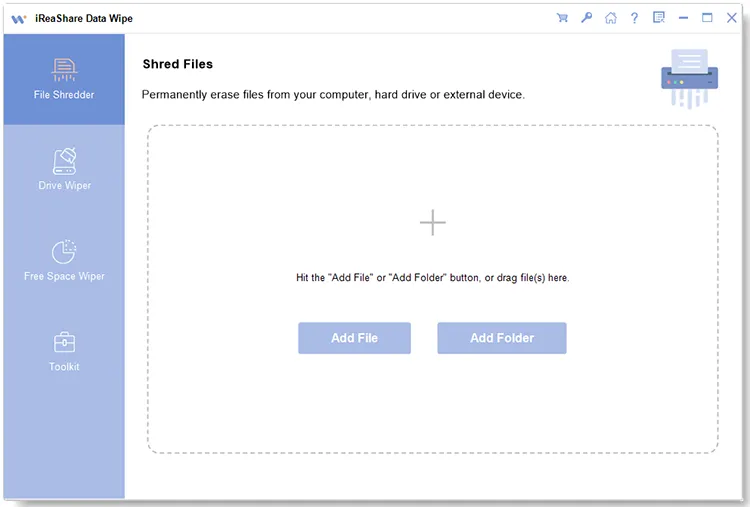
Step 1: Choose the "File Shredder" feature, and click "Add File" or "Add Folder" to select files or folders on your computer.
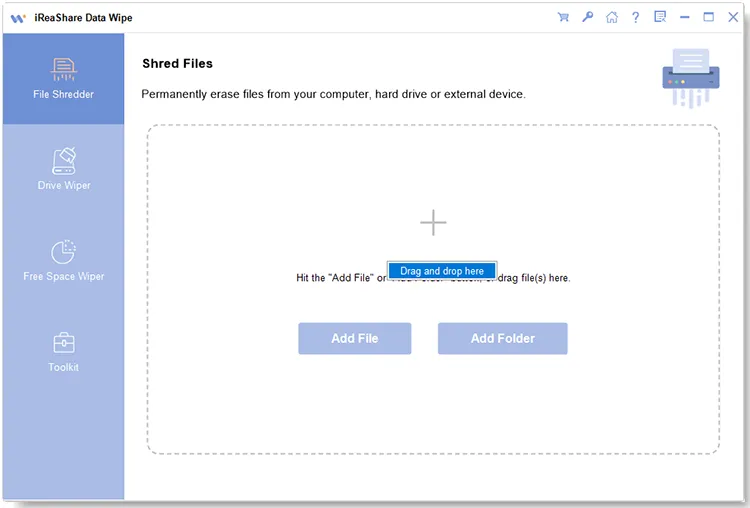
Or you can drag and drop your data to the interface, and tap "Drag and drop here".
Step 2: If you added your data by mistake, you can select it and click "Delete" to remove it from the list. Additionally, you can click "Add" to continue to import the data you want to erase.
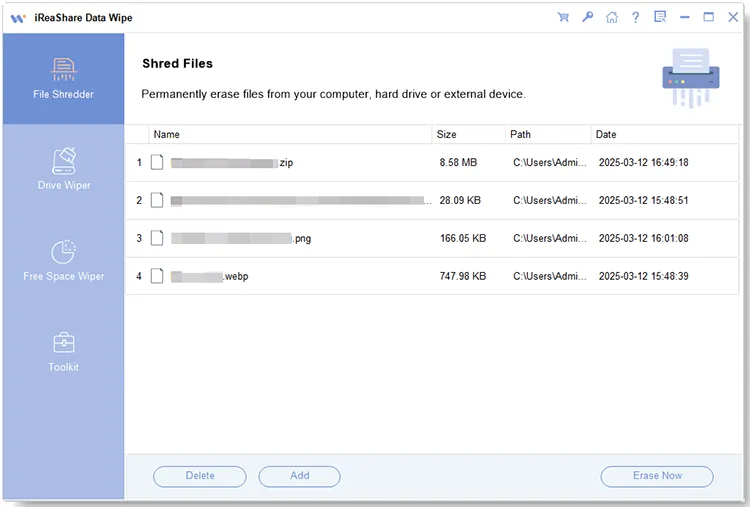
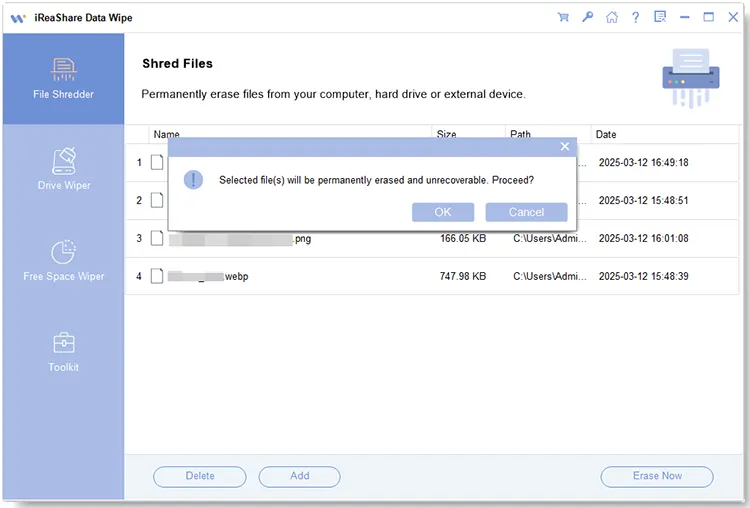
Step 3: Tap "Erase Now" > "OK" to start the process. The file eraser software will shred your selected files and folders, and erase them from your computer. Once finished, click "Home".
Part 3: How to Wipe Hard Drives and External Devices
Step 1: To erase your local disks or external devices, you can choose the "Drive Wiper" feature.
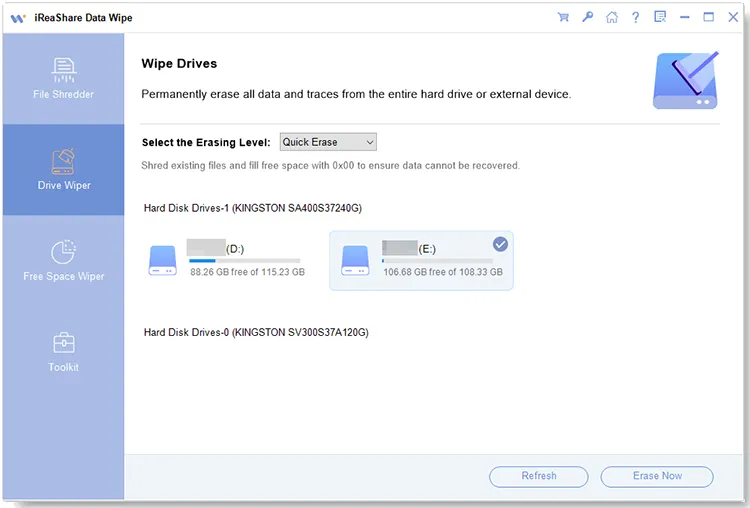
Step 2: Select an erasing level: Quick Erase or Deep Erase. Then click the drive you want to wipe.
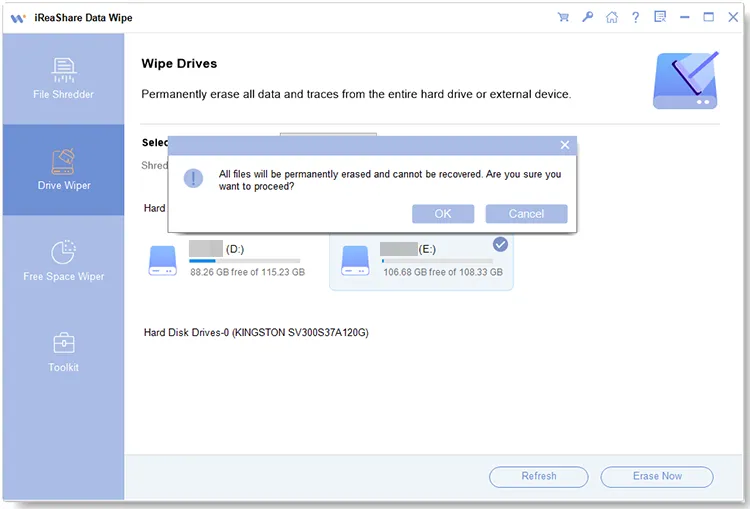
Step 3: Tap "Erase Now" and "OK" on the popup window. Then it will erase all data from your drive.
Part 4: How to Erase Deleted Data from Free Space
Step 1: If you want to erase your deleted data from the free space of your hard drives or external storage devices, please choose the "Free Space Wiper" feature.
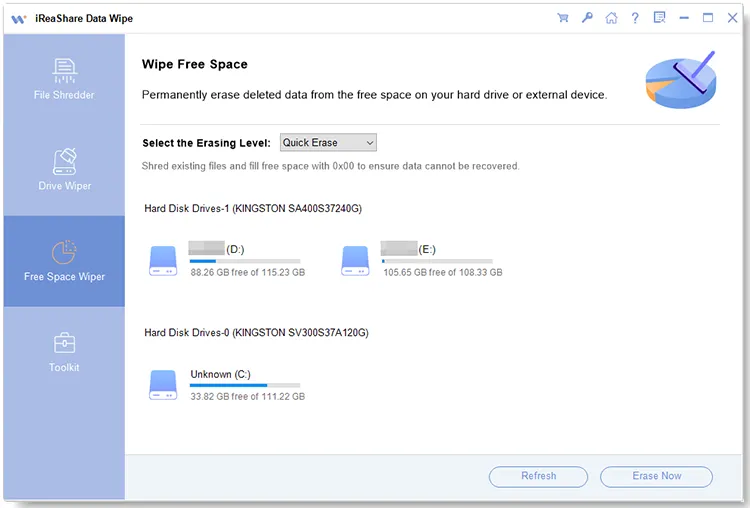
Step 2: Opt for one erasing level, and select a hard drive or device.
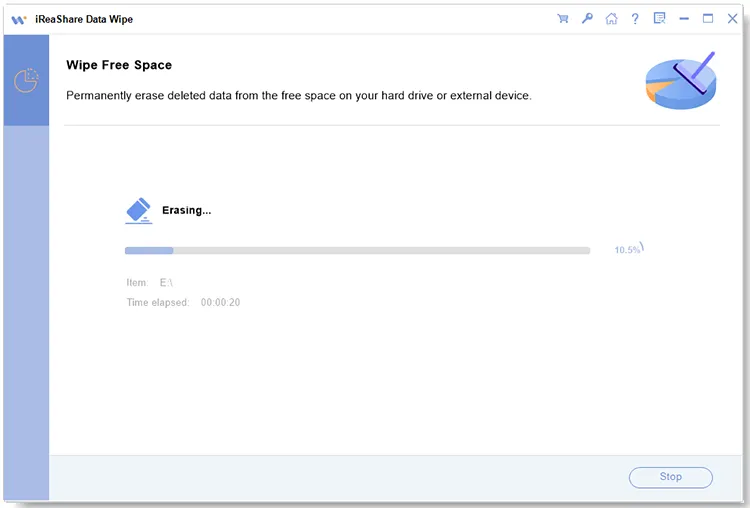
Step 3: Click "Erase Now" > "OK" to begin erasing all deleted data from the free space.
Conclusion
Now, this complete guide of iReaShare Data Wipe is comming to an end. For any questions concerning this software, please leave a message in the comments. We'll reply within one business day. Thank you for your reading.