You can use Data Recovery with ease after reading through this guide, effectively recover deleted, lost, formatted data from your PC, external drives, and mobile devices, fix iOS system issues, repair corrupted photos and documents, etc.
Part 1: How to Recover Data from PC
Step 1: Please download Data Recovery on your PC, and install it. Then run it on the desktop.
Step 2: Run the software on the desktop, and choose the "PC Data Recovery" tab.
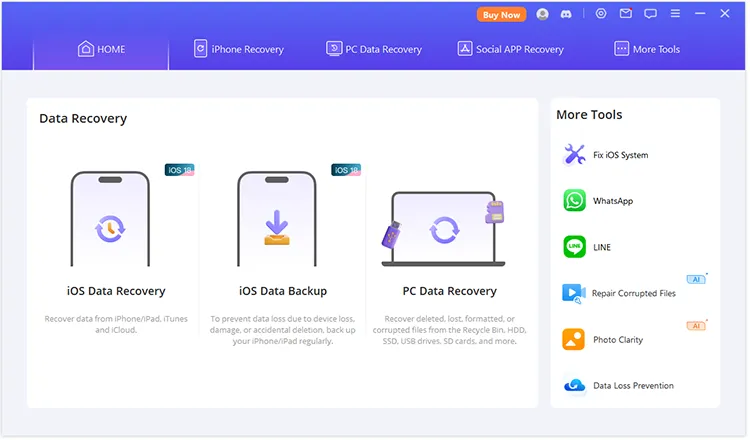
Step 3: Select the local disk where you intend to recover files. The software will start to scan the disk.
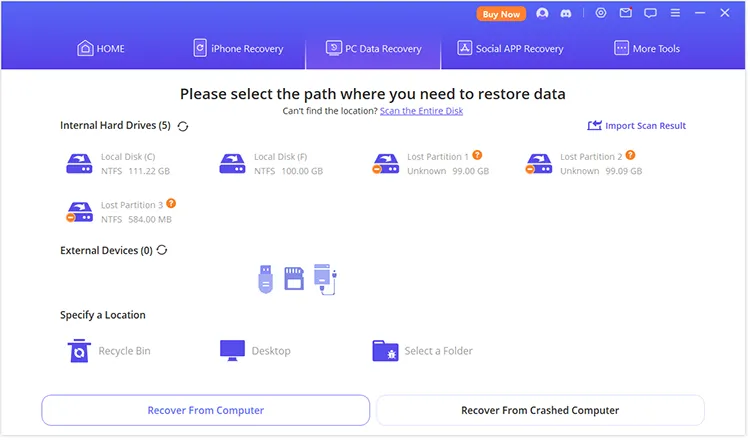
Step 4: After scanning, please select the files you want, and click "Recover All" to recover the files on your PC.
Part 2: How to Recover Files from External Drives
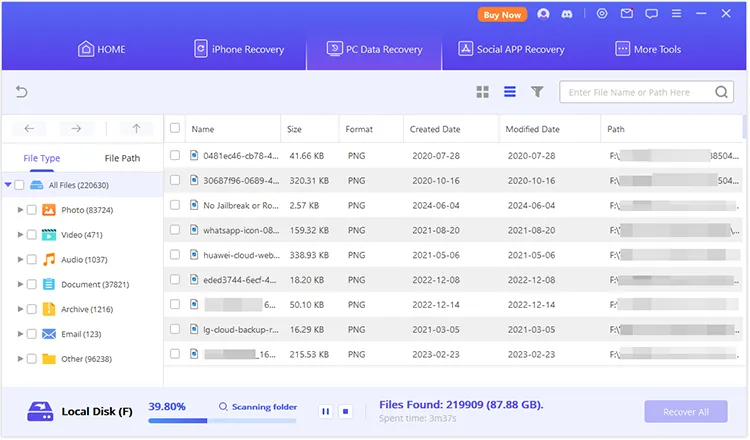
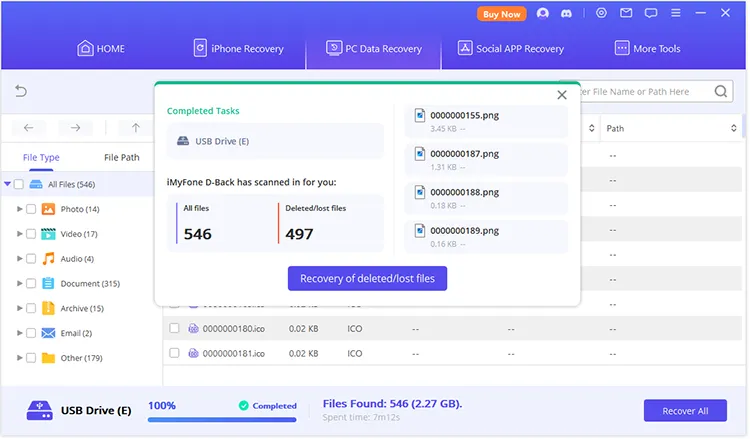
Step 1: To recover files from an external drive, please plug your flash drive, SD card or other external drives into your PC.
Step 2: Launch the software and choose "PC Data Recovery". Then select your external USB drive.
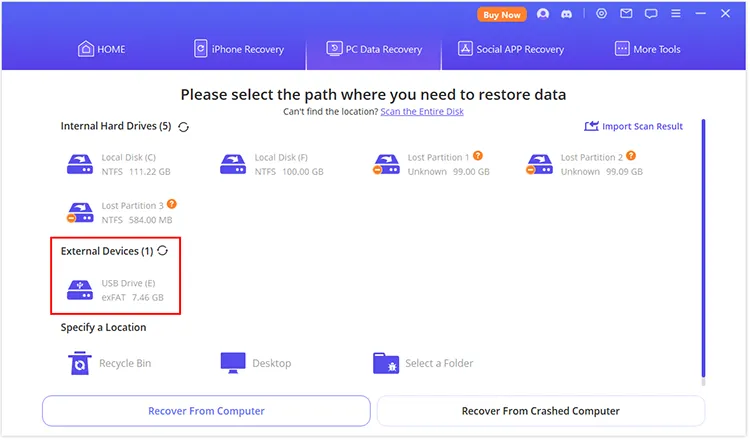
Step 3: The program will begin to scan the selected external device. Once done, opt for the files you want, and click "Recover All" to save them.
Part 3: How to Recover Files from Lost Partition
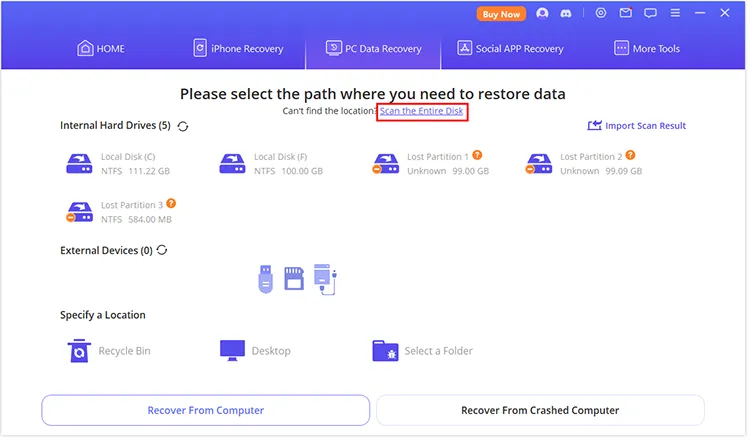
Step 1: You can also recover your files from lost partitions. Please go to "PC Data Recovery" and choose "Lost Partition 1". If you can't view it, please tap "Scan the Entire Disk" to scan partitions.
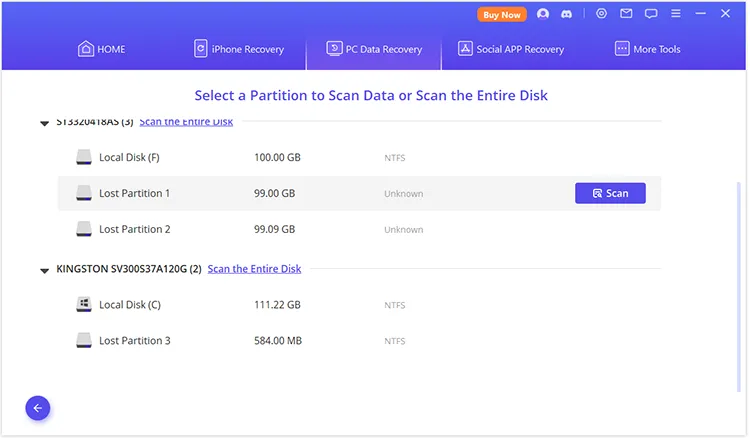
Step 2: Choose a partition, tap "Scan", and the software will scan the files in it.
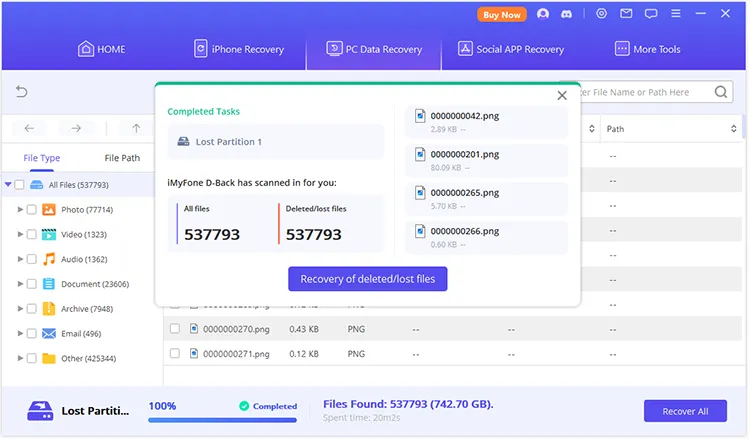
Step 3: Once scanned, it will tell you the numbers of all the files and deleted/lost files. You can click "Recovery of deleted/lost files" to recover all of them at once. Besides, you can close the popup, and selectively recover the desired files on your PC.
Part 4: How to Recover iOS Data from Different Locations
Recover from Device
Step 1: When you want to recover data from an iOS device, please choose the "iPhone Recovery" tab.
Step 2: Choose "Recover From Device" from the bottom features.
Step 3: Connect your iPhone or iPad to the PC with a USB cable.
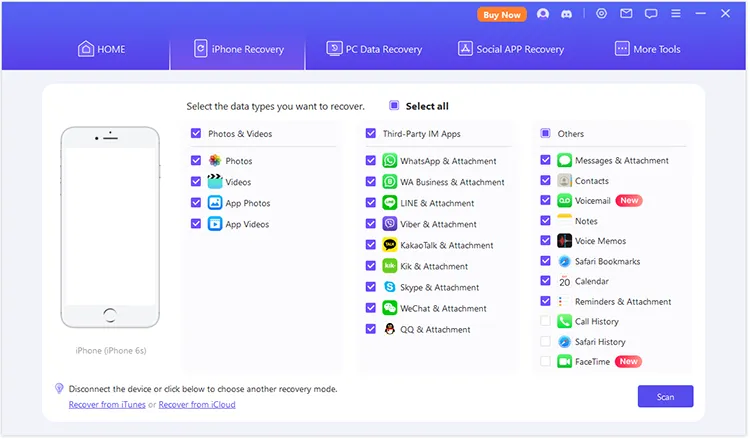
Step 4: Select the file types you want, and click "Scan".
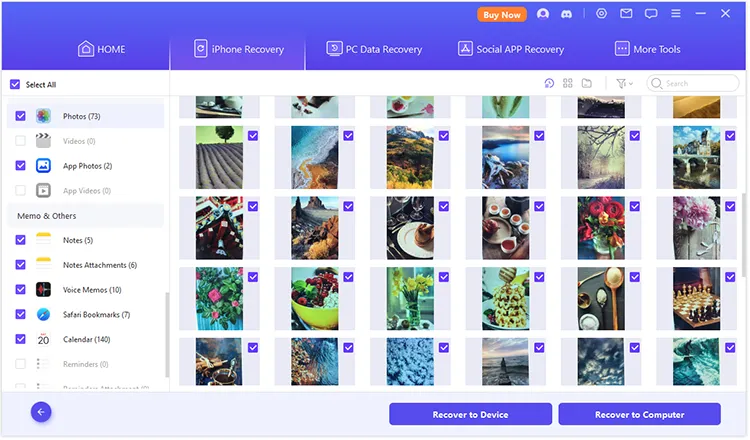
Step 5: View your files, and select the content you want. Finally, choose "Recover to Device" or "Recover to Computer" to save the files to your iOS device or computer.
Recover from iTunes
Step 1: Choose "iPhone Recovery" on the top, and click "Recover From iTunes" at the bottom.
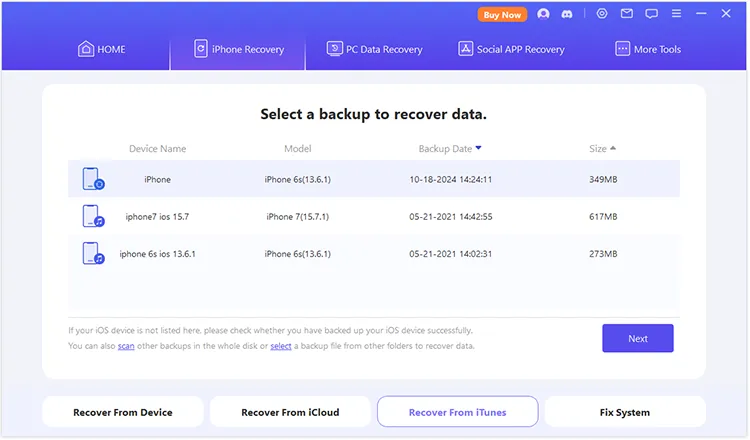
Step 2: The software will detect your iTunes backup automatically. Please select a backup file, and click "Next".
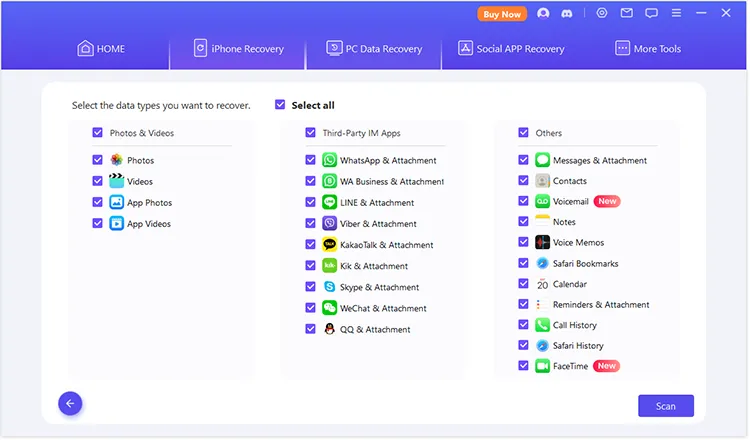
Step 3: Select file types, and click "Scan". Once done, select your desired data, and recover it to your iOS device or PC.
Recover from iCloud
You can recover data from your iCloud account and iCloud backup.
Recover from iCloud Account
Step 1: Click "iPhone Recovery" > "Recover From iCloud". Then choose the "iCloud" option.
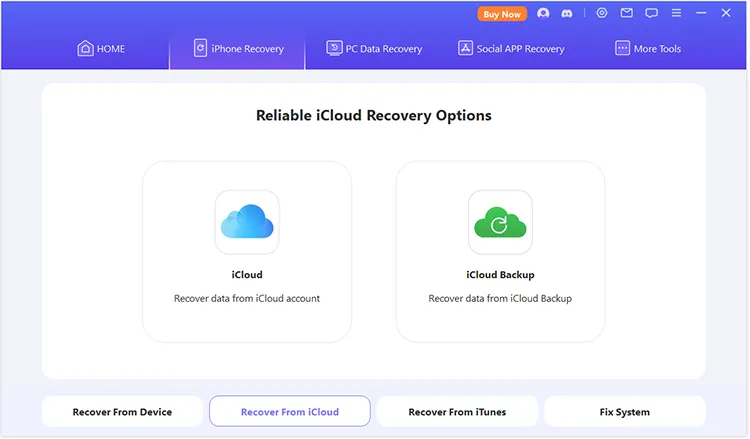
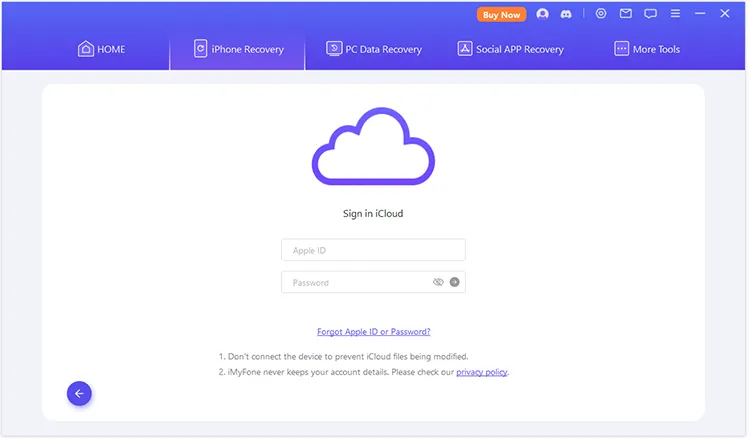
Step 2: Choose "iCloud", please sign in to your iCloud account.
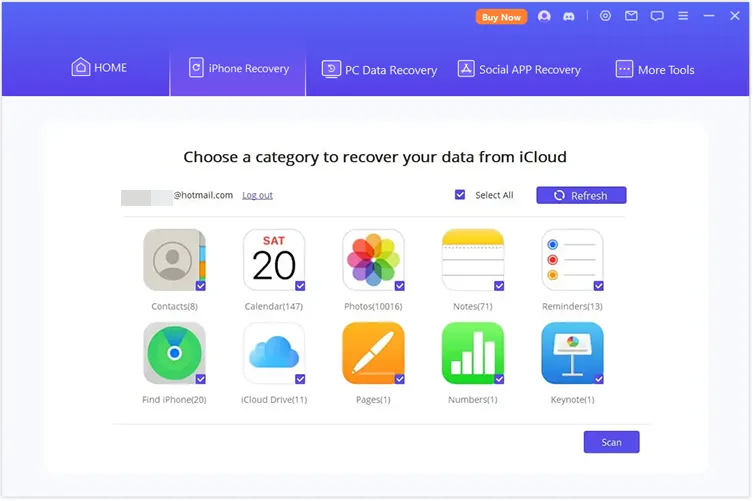
Step 3: Tick off the data types you want, and click "Scan". Then select and recover files from your iCloud account to your PC.
Recover from iCloud Backup
Step 1: Tap "Recover From iCloud" > "iCloud Backup", and click "Next".
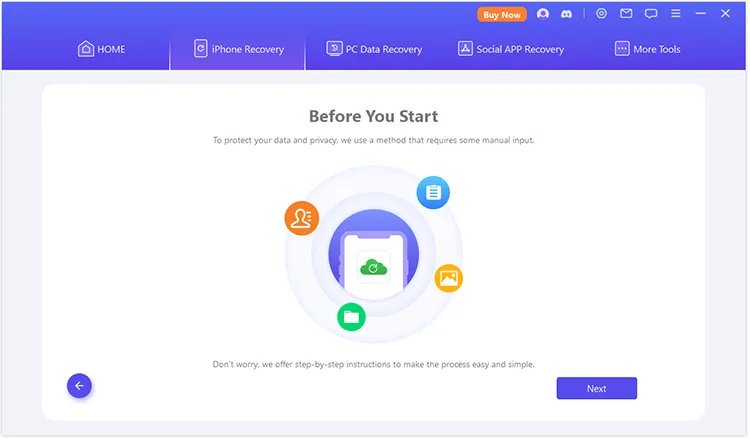
Step 2: Select a type according to your iOS device. If you have finished the setup, please choose "A currently using iPhone with data".
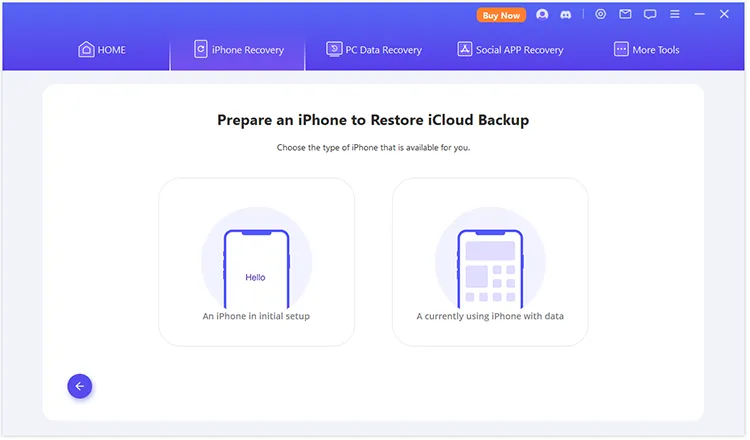
Step 3: To avoid data loss, the software will prompt you to back up the existing iPhone data first. Please tap "Back Up" to start it. Then the data will be saved on your PC, and you can restore it from iTunes backups.
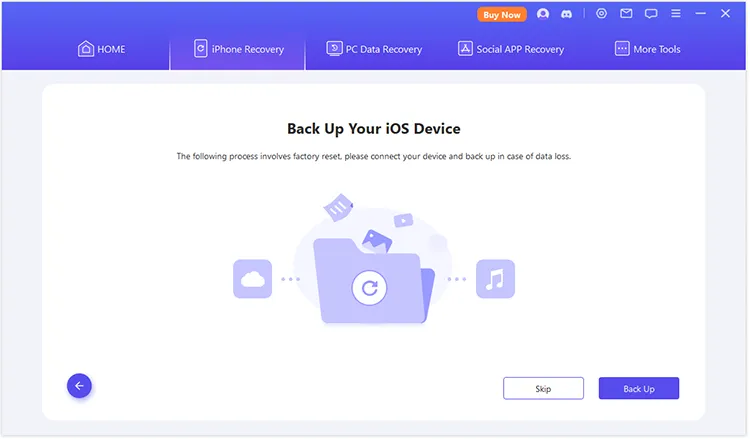
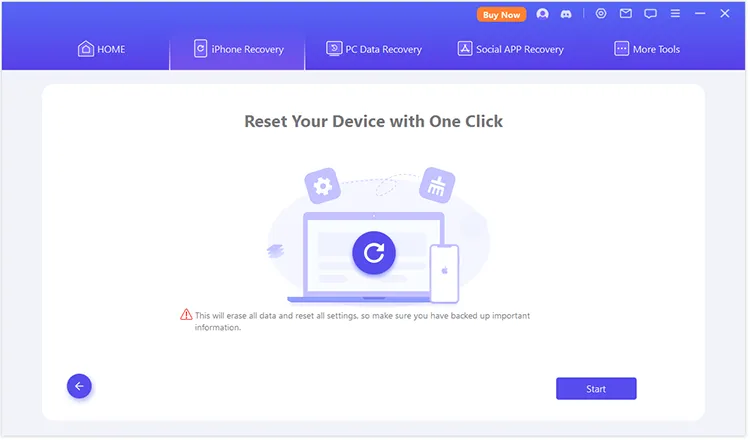
Step 4: After that, reset your device by clicking "Start".
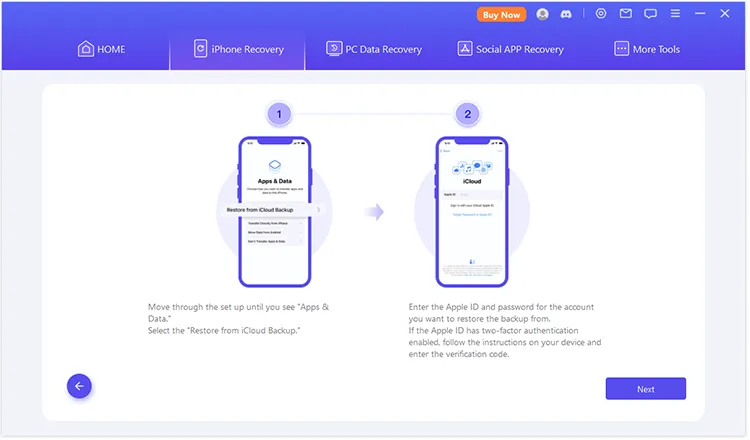
Step 5: After erasing the content and settings on your iPhone, please start to set it up. Then choose the backup you want on your iPhone, and the device will reboot.
Step 6: Select file types and click "Scan", Finally, opt for the target files, and click "Recover to Computer" to save the files on your PC.
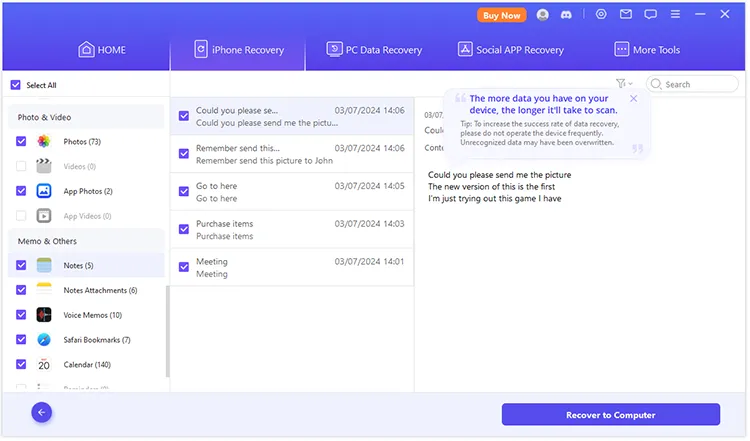
Part 5: How to Recover WhatsApp/LINE Data
Data Recovery can recover WhatsApp/LINE data from devices, iCloud, iTunes, Google Drive, and history records.
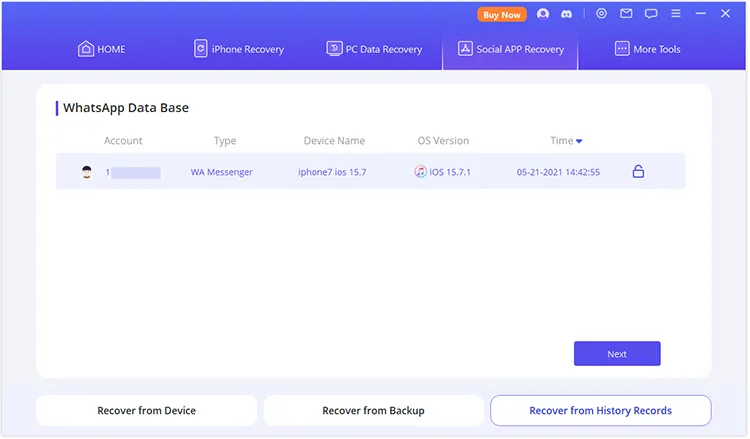
Step 1: Open the software, and choose "Soical APP Recovery". Then choose "WhatsApp" or "LINE".
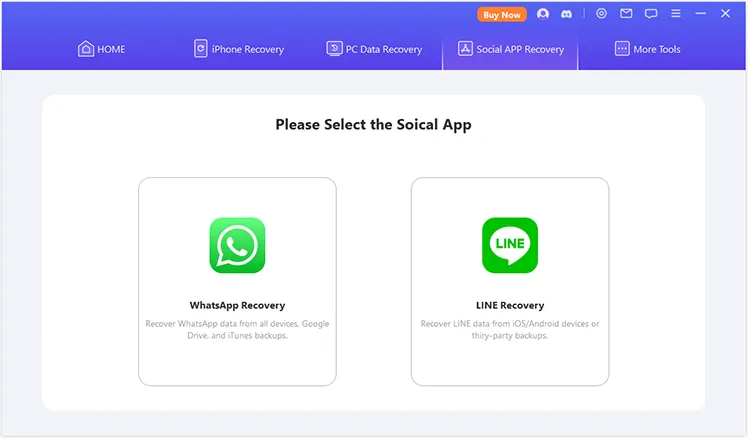
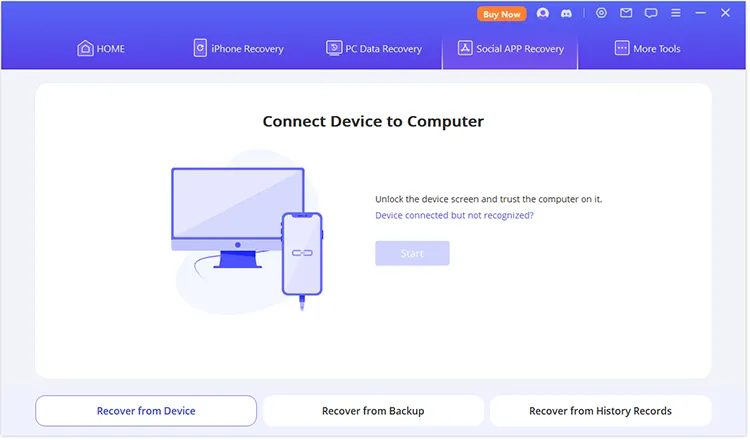
Step 2: There are different locations provided for you.
- Recover from Device: Connect your Android or iOS device to the PC via USB, and click "Start".
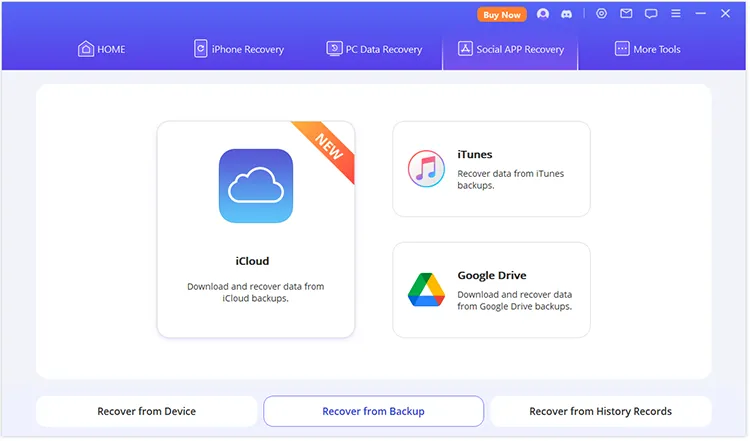
- Recover from Backup: Choose "iCloud", "iTunes". or "Google Drive", and log in to your correct account.
- Recover from History Records: It will detect and list the history records on the interface. Please select the file and tap "Next".
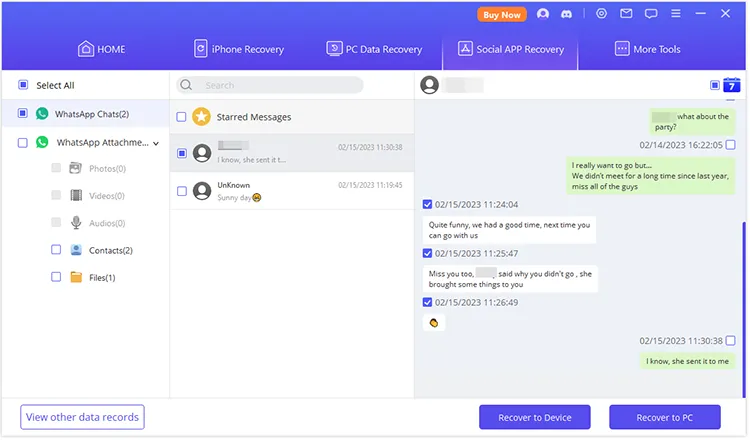
Step 3: After that, select the WhatsApp/LINE chats you want, and click "Recover to Device" or "Recover to PC" to save the social app data.
Part 6: How to Repair Corrupted Files
The Data Recovery software can repair corrupted files, including documents, videos, and photos.
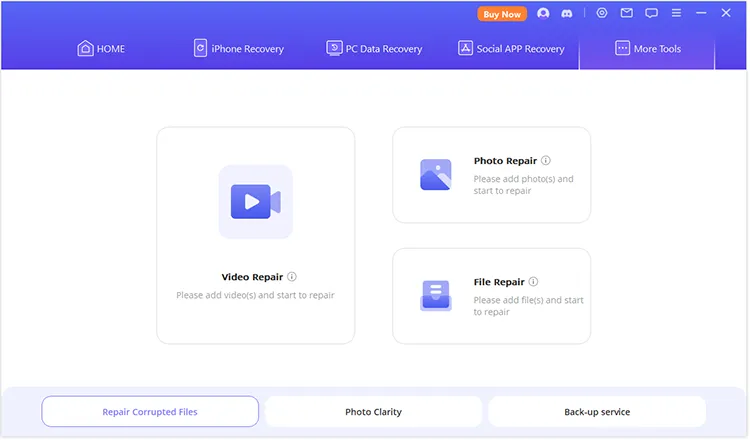
Step 1: Open the program, and click "More Tools" on the top menu.
Step 2: Select "Video Repair", "Photo Repair", or "File Repair".
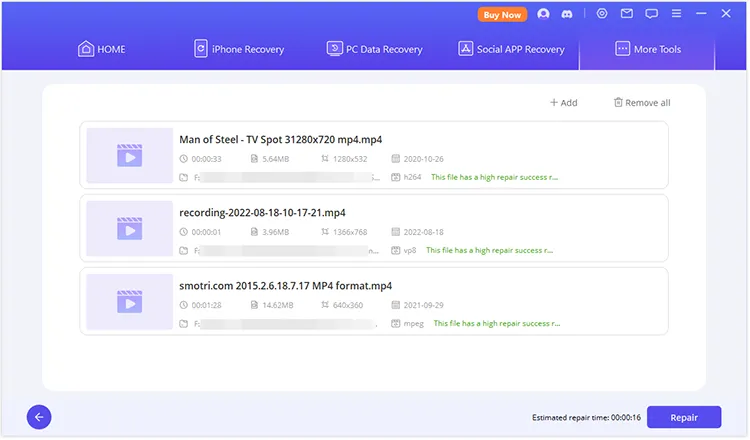
Step 3: Select videos, photos, or documents from your computer, and add them to the software. Then click "Repair" to proceed. After that, save the repaired files to your computer.
Conclusion
Data Recovery can recover data from multiple devices, including iOS and Android devices, PC local disks, and external USB drives. Follow the guide above, you can easily recover your data.


